
How Long should spackle dry before painting?
How long does spackle take to dry? A small, shallow wall patch often dries in about 1–3 hours, while standard spackle may need 3–6 hours. Some fast-drying products allow painting in as little as 30 minutes, but deeper repairs can take overnight or longer. Always follow the instructions for your specific product. Before sanding, priming, or painting, make sure the entire patch is dry—not merely dry to the touch.
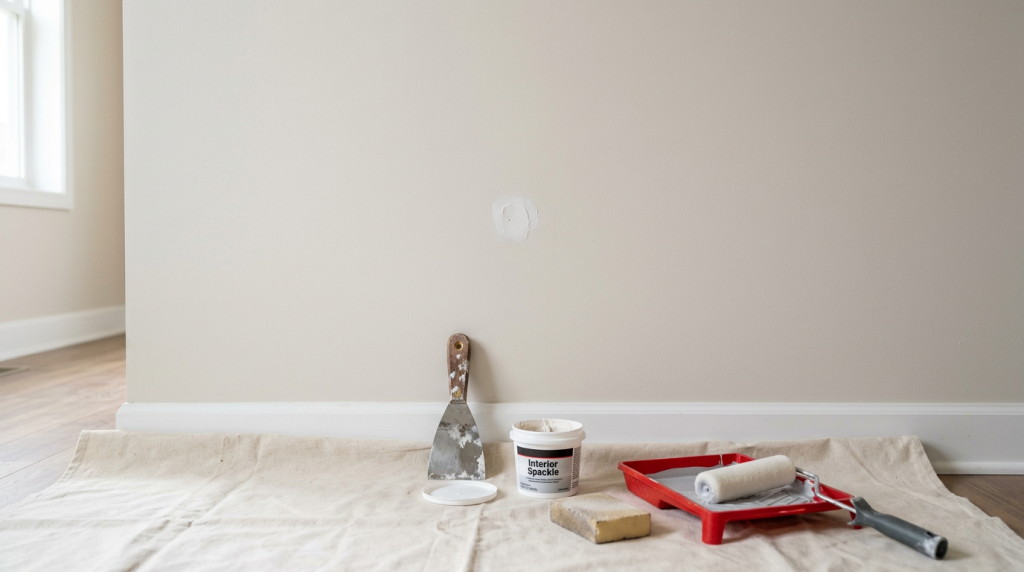
How Long Does Spackle Take to Dry for Different Repairs?
Drying time depends on both the spackle and the amount used. These estimates can help you plan a small interior wall repair, but the product label takes precedence.
| Repair or product | General drying estimate | What to check before painting |
|---|---|---|
| Tiny nail hole with specially labeled fast-drying spackle | As little as 30 minutes | Confirm the product allows painting that soon |
| Shallow hole with lightweight spackle | About 1–3 hours | Patch is firm and ready for any required sanding |
| Small dent with standard spackle | About 3–6 hours | No soft material beneath the surface |
| Deeper gouge or layered repair | Several hours to overnight or longer | Each layer has dried as directed |
A tiny hole filled flush with the wall usually dries sooner than a deep dent packed with the same product. A large or unusually deep damaged area may need a different repair method rather than a thicker application of spackle.
These estimates are not a countdown to painting. Allow additional time for sanding, dust removal, primer, and the primer’s own drying period.
Why Spackle Drying Time Varies
Lightweight Versus Standard Spackle
Lightweight spackle is commonly used for nail holes, picture-hanger holes, and shallow dents. Many formulas dry relatively quickly and sand easily. Some specially formulated products are labeled for painting after a short wait or are designed to eliminate sanding or separate priming.
Standard spackle is useful for other small wall defects, but conventional formulas often take longer to dry. Neither category has one universal drying time.
If you are choosing a filler specifically for small holes, see Best Spackle for Nail Holes. Use a product intended for your wall material and the size of the damage.
Patch Thickness and Multiple Layers
The thicker the application, the longer trapped moisture takes to escape. A patch can form a dry outer skin while remaining soft in the middle. Applying a second layer too early can extend the wait and leave an unstable repair.
Spread the material as directed and scrape away unnecessary excess. For more serious damage, follow the product’s maximum fill depth and layering instructions. Let each layer dry for the required time before adding another.
Temperature, Humidity, and Airflow
A warm, reasonably dry room with gentle airflow generally helps water-based spackle dry. Cool temperatures, humid air, and poorly ventilated spaces slow the process.
The wall itself matters, too. A damp wall is not a suitable surface for a routine cosmetic patch. If moisture keeps returning, address its cause before patching or painting. Widespread or hidden water damage calls for a qualified professional.
Dry to the Touch Is Not the Same as Ready to Paint
Spackle has several practical stages. They matter because a surface that no longer feels wet may still contain moisture deeper in the repair.
- Dry to the touch: The outer surface feels dry. This alone does not establish that the patch is ready for another step.
- Ready to sand: The material has dried as directed, feels firm, and produces fine powder rather than smearing during a gentle test.
- Ready to prime: Any required sanding is finished, the patch is sound and even, and all dust is removed.
- Ready to paint: The spackle is approved for painting at that stage, or the required primer has dried sufficiently for the topcoat.
Some products contain a color-changing dry-time indicator. Use the indicated color change together with that product’s application and depth instructions; do not treat color or surface feel as a universal test.
If the middle of a thick repair is uncertain, allowing more time is safer than covering it with paint.
How to Know When the Patch Is Ready for Sanding, Primer, and Paint
Check Before Sanding
Begin with the drying time on the container. Look for an evenly dry appearance, firm edges, and a patch that does not indent under very light pressure.
Try a few light strokes with a fine-grit sanding sponge only when the stated drying period has passed. Dry material produces fine dust. If the sponge drags, the material smears, or the patch lifts from the wall, stop and allow more drying time.
Wear eye protection and avoid breathing sanding dust. In a home built before 1978, do not sand or scrape painted surfaces unless lead hazards have been addressed. If the paint’s lead status is uncertain, hire a lead-safe certified contractor before disturbing it.
Check Before Priming
A patch is ready for primer when it is dry according to the product instructions, smooth, level with the surrounding wall, and free of loose dust. Use a clean microfiber cloth to remove sanding residue. If you use a damp cloth, let the area dry again before priming.
Look closely at the edges. A raised ridge, soft spot, crack, or sunken center is a reason to correct the repair before applying primer. Primer seals the surface; it will not make an uneven patch level.
Decide Whether Primer Is Needed
Most conventional spackle repairs benefit from spot-priming. Spackle can absorb paint differently from the surrounding painted wall, creating a dull or shiny patch known as flashing. Primer helps even out that difference.
Some fast-drying patch-and-prime products explicitly allow direct painting. A tiny repair made with one of those products may not need separate primer if its instructions say so. For conventional spackle, visible repairs, or walls with noticeable sheen, spot-prime before painting.
For the separate primer decision, see How Many Coats of Primer Over Spackle. Follow the primer label for its drying and recoat times rather than using the spackle’s drying estimate.
The Correct Order: Spackle, Sand, Prime, Paint
For an ordinary small interior repair, have the specified spackle, a putty knife, a fine sanding sponge if needed, a clean cloth, compatible primer if required, and matching wall paint ready.
Step 1: Prepare the damaged spot
Remove loose debris from a sound, dry surface without disturbing suspect old paint. If the wall is damp or the damage extends beyond a small cosmetic repair, resolve that problem first.
Step 2: Apply a thin, even patch
Press spackle into the hole with the putty knife and scrape away excess. For deeper defects, apply separate layers only within the manufacturer’s stated limits, allowing the specified drying time between coats.
Step 3: Allow the spackle to dry
Use the label’s time for your product and repair depth. Account for cool or humid conditions, and do not use a dry-feeling surface as permission to move ahead.
Step 4: Sand and remove dust if required
When the patch is ready, sand lightly until it blends with the surrounding surface. Stop if the material smears or pulls loose. Remove dust before the next step. Skip sanding only when the product and finished surface make it unnecessary.
Step 5: Prime the repaired area if needed
Apply a compatible primer over the dry, dust-free patch and slightly beyond its edges. If your spackle is specifically approved for direct painting, follow those instructions instead. Let any primer dry for the time stated on its label.
Step 6: Paint and inspect the finish
Apply matching paint in thin, even coats with a suitable brush or mini roller. Observe the paint’s recoat time before adding another coat. Once dry, check the wall from an angle for visible edges or uneven sheen.
How to Help Spackle Dry Safely
You can improve drying conditions, but you cannot reliably force a thick patch to dry throughout in a few minutes.
- Choose a fast-drying or lightweight formula when it suits the hole and the product directions.
- Apply only the amount needed; use separate layers when the manufacturer requires them.
- Keep the room within the product’s recommended temperature range.
- Use gentle room airflow rather than blowing hot air directly onto the patch.
- Run a dehumidifier if the room is unusually humid, without exceeding the product’s environmental limits.
Avoid heat guns, high-heat hair dryers, and direct blasts from space heaters. Aggressive heat can dry the surface unevenly, encourage cracking, and make a patch seem ready while moisture remains underneath.
A fan or dehumidifier improves conditions; neither overrides the drying time or other requirements on the container.
What Happens If You Paint Spackle Too Soon?
Painting over incompletely dried spackle can leave a soft patch beneath the finish. As the repair continues to dry, it may shrink, crack, or become more noticeable. Paint adhesion or appearance can also suffer.
Other common mistakes cause similar problems:
- Sanding too early, which smears the patch or pulls material out of the hole.
- Using one thick application where the product requires several thinner layers.
- Painting over sanding dust, which interferes with a clean finish.
- Skipping primer on a porous conventional patch, which can create flashing.
- Applying heavy paint coats or repainting before the previous coat is ready.
If an unpainted patch remains soft past the expected time, allow more drying under suitable conditions. If it stays soft, cracks, or sinks, remove unsound material and redo the small repair according to the product directions. Do not cover a questionable patch with more spackle or paint.
If you have already painted and the repair develops a visible defect, let the coating dry before assessing it. A small flawed patch may need to be sanded back, refilled, fully dried, primed, and repainted.
Persistent dampness or recurring damage needs investigation rather than another cosmetic touch-up.
Final Thoughts
Plan on roughly 1–3 hours for many shallow lightweight-spackle repairs, longer for standard products, and potentially overnight or more for deeper patches. Your container’s instructions—not the clock alone—determine when to proceed.
Before painting, confirm the repair is fully dry for its depth, sand only when ready, remove dust, and use primer when the product or finish requires it. That short verification can prevent a noticeable patch and an avoidable second repair.