
Backer rod for caulking windows and doors
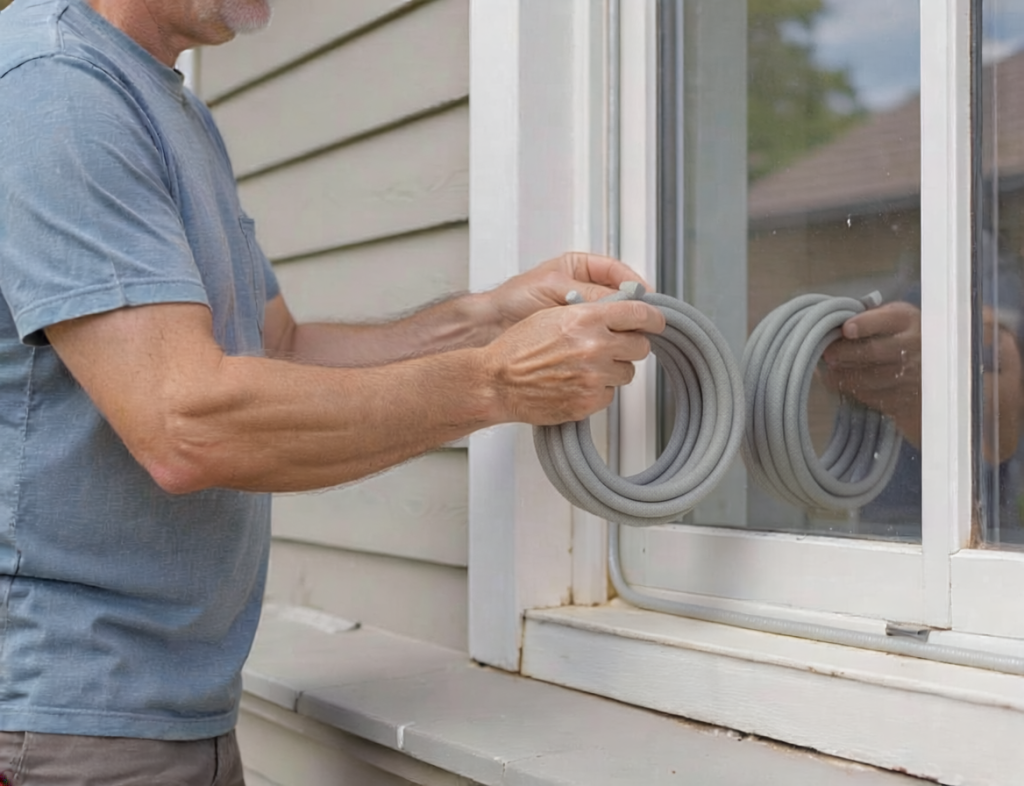
Backer rod for caulking is a compressible foam cord placed behind sealant in suitable fixed joints. It helps control sealant depth, supports a consistent bead shape, reduces wasted sealant, and helps prevent three-sided adhesion. Backer rod is not the finished seal, structural support, or insulation for a large wall cavity, and it should never be used in drainage openings, tracks, moving joints, or damaged assemblies.
| Joint condition | Use backer rod? | Main reason |
|---|---|---|
| Deep fixed gap between sound materials | Often | Controls sealant depth and supports joint shape |
| Shallow joint with little depth | Usually not | There may not be enough room for foam and sealant |
| Narrow crack | Usually not | Backer rod may not fit properly |
| Weep hole, track, drainage slot, or moving area | No | Must remain open or operational |
| Gap with rot, loose trim, or active leakage | No | Repair the underlying problem first |
| Large cavity caused by missing material | No | Backer rod is not a substitute for construction materials |
What Backer Rod Does
Foam backer rod sits behind sealant in a joint rather than functioning as the exposed weather seal.
Its main purposes are to:
- control sealant depth
- reduce unnecessary sealant use
- support the shape of the bead
- help create more consistent joint geometry
- reduce three-sided adhesion
Three-sided adhesion means the cured sealant bonds to both opposing sides of the joint and also to the surface behind it.
In many properly designed sealant joints, the sealant should bond primarily to the two opposing sides. If it also bonds firmly to the back of the joint, normal movement can place additional stress on the cured bead.
Backer rod provides a bond-breaking surface behind the sealant while helping establish the correct depth.
Backer rod is not:
- structural support
- a substitute for missing framing
- primary wall insulation
- a repair for rotten or damaged materials
- a way to fill an unexplained cavity
If the opening exists because building materials are missing, loose, damaged, or moving, repair the underlying condition instead.
Where Backer Rod May Be Used
Backer rod may be suitable in fixed joints such as:
- window frame-to-trim joints
- trim-to-siding joints
- fixed door-frame perimeter joints
- frame-to-masonry joints
- stationary gaps between compatible materials
The joint must already be appropriate for sealant.
Do not use backer rod simply because a gap looks deep.
Do not place it in:
- weep holes
- drainage slots
- window tracks
- moving sash joints
- door drainage thresholds
- locks
- hinges
- rollers
- operators
- ventilation openings
- unidentified cavities
- glazing systems unless specifically approved
Backer rod should never interfere with drainage, movement, ventilation, hardware, or designed window and door functions.
Open-Cell Versus Closed-Cell Backer Rod
Backer rod is available in several foam types. The correct choice depends on the joint, moisture exposure, sealant, and product instructions.
Closed-Cell Backer Rod
Closed-cell backer rod is generally firmer and less absorbent than open-cell foam.
It is often considered for exterior or moisture-exposed joints when the product and sealant manufacturer permit it.
Potential advantages include:
- firmer support
- lower moisture absorption
- predictable compression when correctly sized
Sizing is important.
An oversized closed-cell rod can be difficult to position and may place unnecessary pressure on surrounding materials.
It can also be damaged by sharp tools during installation.
Do not assume every closed-cell foam product is waterproof or appropriate for every exterior joint.
Check the manufacturer’s technical information.
Open-Cell Backer Rod
Open-cell backer rod is generally softer and easier to compress.
It may conform more easily to mildly irregular joints and is often used in protected or interior applications when permitted.
Advantages can include:
- easier compression
- easier placement in irregular joints
- reduced installation force
However, open-cell foam may absorb moisture more readily than closed-cell products.
It may therefore be unsuitable for wet or highly moisture-exposed locations unless the manufacturer specifically approves that use.
Specialty and Hybrid Products
Other products include:
- bi-cellular foam
- soft-cell foam
- specialty joint-backing products
Names alone do not determine suitability.
Choose according to:
- product labeling
- technical data
- sealant manufacturer’s instructions
- joint conditions
Do not identify foam type by color alone. Different manufacturers may use different colors for products with very different properties.
How to Choose the Correct Diameter
A caulk backing rod normally needs to be slightly larger than the joint opening so gentle compression holds it in place.
The exact amount of compression depends on the product.
Start by measuring the joint at several locations.
Compare:
- narrowest width
- widest width
- changes along the joint
- irregular sections
Then compare those measurements with the backer-rod manufacturer’s sizing guidance.
A properly fitted rod should:
- remain in place
- compress gently
- sit evenly
- avoid excessive pressure on surrounding materials
- leave adequate space for the sealant bead
When practical, test a short section before preparing the entire joint.
If the rod is too small:
- it may fall deeper into the cavity
- it may not remain at a consistent depth
- it may not support the sealant properly
If it is too large:
- it may deform
- it may be difficult to position
- it may place unwanted pressure on adjoining materials
Do not stretch foam backer rod to make it thinner.
Do not fold several strands together to create a larger diameter.
Do not force an oversized rod into a joint.
Choose the correct size instead.
How Deep Should Backer Rod Be Installed?
There is no universal depth that works for every sealant joint.
The correct depth depends on:
- joint width
- sealant type
- expected movement
- intended bead profile
- location
- manufacturer requirements
The purpose of the backer rod is to establish a consistent space for the sealant above it.
If the rod is too shallow, there may not be enough depth for the required sealant bead.
If it is too deep, the joint may end up with excessive sealant thickness and unnecessary material use.
Uneven backer-rod depth creates inconsistent joint geometry, which can make the finished sealant bead thicker in some areas and thinner in others.
Use the sealant manufacturer’s joint-design chart or technical instructions when determining placement.
Do not rely on a single universal width-to-depth ratio for every product and application.
How to Install Backer Rod
Step 1: Confirm the Joint Is Appropriate
Before installing anything, verify that:
- the joint is fixed
- both side surfaces are sound
- the opening is intended to receive sealant
- drainage will not be blocked
- movement will not be blocked
- there is no active moisture
- there is no significant structural movement
- the backing material is compatible with the planned sealant
If the joint’s purpose is unclear, stop before filling it.
Step 2: Clean the Joint
Remove:
- loose debris
- dust
- dirt
- unstable material
- remnants of failed caulk that would interfere with the repair
Work carefully around:
- trim
- siding
- masonry
- glass
- finished surfaces
The goal is to prepare a sound joint without damaging the materials around it.
Step 3: Measure and Test the Rod
Recheck the joint width after cleaning.
Test a short piece of backer rod and confirm that:
- it compresses gently
- it stays in place
- it can sit at a consistent depth
- adequate space remains above it for sealant
If the rod has to be pounded, crushed, or forced into position, reconsider the size.
Step 4: Press the Rod Into Position
Use a blunt tool such as:
- a backer-rod installation tool
- smooth plastic putty knife
- rounded dowel
- manufacturer-approved blunt tool
Press the rod gradually into the joint.
Try to maintain an even depth along the entire run.
Keep the rod continuous where practical. When two pieces are required, butt their ends together rather than overlapping them unnecessarily.
Do not use:
- knife tips
- nails
- sharp screwdrivers
- rough metal edges
Also avoid:
- stretching the foam
- twisting it
- puncturing it
- repeatedly folding it
- unnecessarily overlapping pieces
Damage can change the shape or performance of the backing.
Step 5: Recheck the Joint
Before applying sealant, verify that:
- depth is consistent
- the rod is not punctured
- the rod is not crushed
- it does not protrude above the intended sealant space
- it has not fallen into an inaccessible cavity
- drainage remains open
- the remaining joint depth matches the sealant instructions
Correct uneven sections before continuing.
Step 6: Apply the Sealant
The compatible sealant is applied over the backer rod so the bead contacts both sides of the joint.
Do not force sealant around or behind the foam.
For the complete bead-application, tooling, and curing process, follow the appropriate how to caulk windows procedure.
The backer rod establishes the joint backing. The sealant above it provides the finished exposed seal.
When to Use Bond-Breaker Tape
Some fixed joints are too shallow to accept foam backer rod while still leaving enough room for the required sealant bead.
In those situations, manufacturer-approved bond-breaker tape may be appropriate.
Bond-breaker tape can:
- reduce three-sided adhesion
- occupy less joint depth than foam
- provide a nonbonding surface behind the sealant
Do not substitute ordinary household tape simply because it fits.
Tape chemistry, backing material, adhesive, and compatibility with the sealant can matter.
Use a product approved for the intended joint and sealant system.
Common Mistakes and When Backer Rod Is Not the Repair
Avoid These Installation Mistakes
Common errors include:
- blocking drainage
- blocking tracks
- blocking moving parts
- using rod that is too small
- using rod that is too large
- stretching the foam
- puncturing it with a sharp tool
- installing it at uneven depth
- twisting or folding it
- overlapping pieces unnecessarily
- leaving gaps between adjoining pieces
- using absorbent foam in a wet location without approval
- applying sealant without confirming compatibility
- installing backer rod behind glazing without approval
- treating backer rod as wall-cavity insulation
If you are not certain whether an opening should be sealed at all, review where not to caulk around windows before installing joint backing.
Backer rod cannot repair:
- rot
- failed flashing
- loose frames
- cracked masonry
- missing trim
- broken hardware
- active water leakage
- structural movement
- large cavities caused by missing construction materials
A deep opening is not automatically a sealant joint.
For example, a large cavity caused by missing trim or damaged construction should be repaired appropriately rather than packed with foam rod and covered with caulk.
Likewise, water entering during rain should be traced to its source before a visible gap is filled.
Backer rod helps form a properly designed sealant joint. It does not correct the defect that created an inappropriate opening.
Safety and When to Call a Professional
Professional evaluation is appropriate when:
- the joint is above safe ground-level reach
- ladder or roof access is required
- glass is cracked, loose, shifting, or unstable
- water enters during rain and the source is unclear
- the frame, sill, threshold, trim, siding, masonry, or wall is damaged
- the gap is unusually wide, deep, irregular, or moving
- flashing, glazing, drainage, or structural components may be involved
- painted surfaces may contain lead
- widespread mold or hidden moisture exists
- window, door, siding, trim, or masonry components require removal
- the correct joint depth cannot be determined
- material compatibility cannot be confirmed
- the opening may require repair instead of sealant
Do not use backer rod to conceal damage or turn an unidentified cavity into a sealant joint.
Final Thoughts
Backer rod for caulking works best in suitable fixed joints where sealant depth and bead shape need to be controlled.
Choose the foam type and diameter according to the joint, product data, and sealant requirements. Test the fit, install it at a consistent depth with a blunt tool, and keep drainage openings and moving components clear.
Most importantly, do not use backer rod as a substitute for missing construction materials, structural repairs, drainage corrections, or repairs to damaged window and door assemblies.