
faucet leaking at base: what to check first
If your faucet leaking at base is the problem, do not assume the seal around the bottom of the faucet has failed. Water may be splashing onto the sink deck, tracking down from the spout or handle, leaking through an internal seal, or coming from a connection below. Dry the faucet, sink deck, and cabinet first, then watch where fresh water appears.
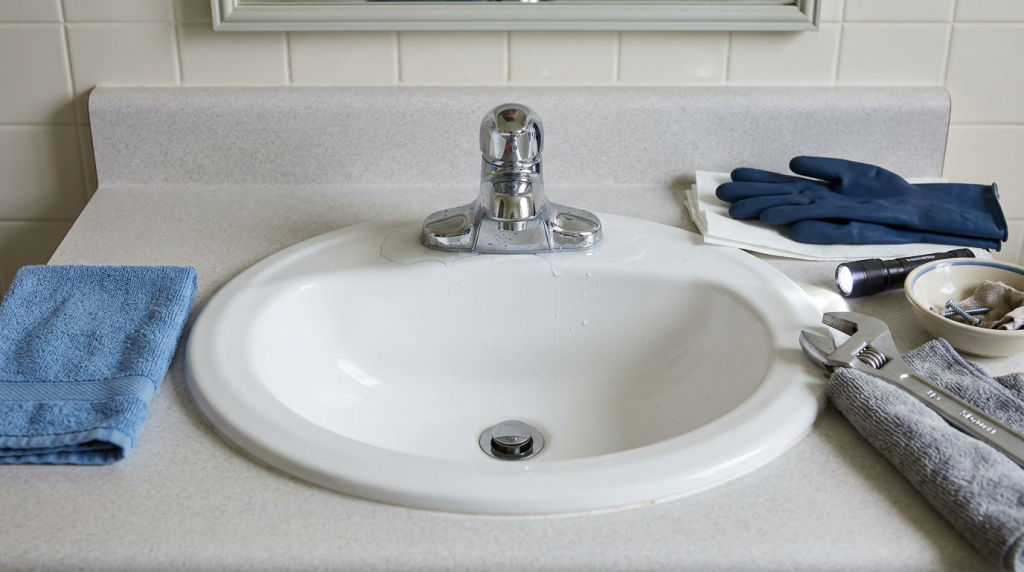
| When water appears | Possible source | What to check first |
|---|---|---|
| Only after normal sink use | Splashing or surface water | Dry the deck and repeat a controlled test |
| While faucet runs | Faucet body, seals, connections | Find the first fresh wet point |
| When handle moves | Handle seal, O-ring, cartridge | Watch the handle and upper faucet body |
| Below the sink | Supply line, connection, sprayer hose | Inspect the cabinet with a flashlight |
| Around a loose faucet | Mounting or deck-plate area | Confirm the leak before tightening |
Start With a Completely Dry Faucet and Sink
Water travels easily across a sink deck and along faucet surfaces, so the place where you see a puddle may not be the source.
Dry the faucet base, spout, handles, sink deck, and surrounding countertop. Then open the cabinet and dry the underside of the sink, supply lines, faucet connections, and cabinet floor.
Remove stored items so you have a clear view. Use a flashlight to inspect areas that are difficult to see.
Once everything is dry, use the faucet briefly while watching for the first fresh moisture. Check above and below the sink.
Keep these tests short. If water is actively soaking the cabinet or flooring, stop using the faucet rather than continuing to reproduce the leak.
The goal is to identify the highest or first wet point before tightening or disassembling anything.
Rule Out Splashing and Surface Water
Ordinary sink use can leave water around the faucet base, especially during dishwashing, handwashing, cleaning, or use of a pull-out sprayer.
After drying everything, run the faucet in a controlled way without splashing water around the sink deck.
If the faucet, base, and cabinet remain dry during the test but water later appears after normal sink use, surface water may be responsible.
Look at how water moves around the sink. Moisture can collect behind the faucet, around a deck plate, or along the countertop and then settle at the base.
Do not dismiss recurring moisture as splashing without checking, however. If water consistently returns during controlled faucet operation, continue tracing the plumbing source.
A kitchen faucet leaking at base level during ordinary use can still have an internal or connection problem even if splashing initially seems plausible.
If Water Appears When the Faucet Runs
A leak that begins only while the faucet is running provides a useful clue.
Dry the faucet again, then operate it briefly while watching the spout, faucet body, handles, and base. Check beneath the sink at the same time if possible.
Water appearing around the base while the faucet runs could originate from an internal seal, O-ring, cartridge area, faucet-body connection, or another point higher on the fixture.
Follow the moisture upward rather than assuming the lowest wet area is responsible.
For example, a small leak around the upper faucet body can run down the fixture and collect around the base. The visible puddle may be several inches from the component that actually needs attention.
Do not begin tightening accessible hardware simply because the leak occurs during faucet operation. First identify where fresh water starts.
If Water Appears When the Handle Moves
Pay particular attention to the handle if moisture appears when you turn the faucet on, change temperature, or move the handle between positions.
Depending on the faucet design, worn O-rings, cartridge seals, or other internal sealing components can allow water to escape near the handle or upper faucet body.
Look closely for moisture forming at the handle and then running toward the base.
If the first fresh water clearly appears around the handle rather than at the bottom of the faucet, follow the separate diagnostic path in Faucet Leaking From Handle: What to Check.
Do not replace a cartridge or internal seals based only on water around the faucet base. Faucet designs vary, and confirming the origin first can prevent unnecessary disassembly.
If internal faucet work becomes necessary, shut off the water supply before taking the faucet apart.
Check Below the Sink
Even when water is visible around the faucet base, inspect beneath the sink.
Use a flashlight to check:
- Hot and cold supply lines
- Shutoff valves
- Supply connections at the faucet
- Sprayer or pull-out hose, if present
- Underside of the faucet mounting area
- Sink underside around nearby plumbing
Water can follow tubing, hoses, and the underside of the sink before dripping somewhere that makes the source difficult to recognize.
A leaking sprayer hose, for example, may send water down through the faucet opening or into the cabinet. A supply connection may drip down a line before falling to the cabinet floor.
Do not assume every wet connection needs tightening. Dry the components and identify where the next drop forms.
If the evidence shows that the problem is primarily below the sink rather than at the faucet base, use Leak Under Kitchen Sink: What to Check First for the broader under-sink diagnostic path.
Check for a Loose Faucet
A faucet body that moves noticeably when touched may have loose mounting hardware beneath the sink.
Movement does not automatically prove that the mounting hardware is causing the leak. However, a loose faucet can allow movement around the sink opening or deck plate, potentially giving surface water a path beneath the fixture.
Gently check whether the faucet feels stable. Do not rock it aggressively.
If it moves, inspect the mounting area below the sink where accessible. Look for obvious looseness, moisture, corrosion, or damaged components.
Do not blindly tighten mounting hardware. Over-tightening can damage the faucet, sink, countertop, or mounting components, depending on the installation.
Confirm the source of the water before deciding that tightening is appropriate.
Check the Deck Plate or Escutcheon
Some faucets use a deck plate, sometimes called an escutcheon, that covers multiple sink or countertop openings.
Water can collect around the plate or find its way beneath it. That can make the entire faucet base area look like it is leaking.
Dry the plate and surrounding sink deck, then watch what happens during controlled faucet use.
If water appears to be coming from higher on the faucet and flowing beneath the plate, address the source above rather than the plate itself.
Do not assume that adding caulk around the outside edge is the correct repair for unidentified water. Sealing the visible edge without finding the source can conceal continued moisture beneath the faucet.
The correct next step depends on whether the water is coming from plumbing inside the faucet, surface splashing, or another nearby source.
O-Rings, Seals, and Cartridges Can Cause Base-Area Leaks
Faucet construction varies widely, but internal seals help keep pressurized water inside the fixture.
As seals and O-rings wear, water may escape from joints in the faucet body. Depending on the design, a worn cartridge or its seals can also contribute to leakage.
These problems become more likely when controlled testing shows fresh water emerging from the faucet body rather than arriving from the countertop or plumbing below.
Keep the diagnosis separate from the repair.
Do not dismantle the faucet while the water supply is still on. Before replacing internal components, identify the faucet design and determine which parts actually provide the seal at the suspected leak point.
Protect the faucet finish as well. Avoid gripping finished surfaces with unprotected tools or using excessive force on components that may be seized or corroded.
Do Not Treat Plumber’s Tape as a Universal Fix
Plumber’s tape is useful for certain threaded plumbing connections, but it does not repair every faucet leak.
Many plumbing connections rely on other sealing methods, including:
- Rubber gaskets
- O-rings
- Compression components
- Cartridge seals
- Purpose-designed washers
Adding tape where another component creates the actual seal may do nothing to stop the leak and can interfere with proper assembly.
The same principle applies to tightening. If a worn O-ring is leaking, tightening unrelated hardware will not restore that seal.
Identify how the leaking connection is designed to seal before attempting a repair.
Avoid Random Tightening
When water appears around a faucet, it can be tempting to tighten every nut and connection you can reach.
That approach can create additional problems.
Over-tightening can damage plastic parts, deform sealing components, stress mounting hardware, or damage a connection that was not leaking in the first place. Corroded fittings may also fail when excessive force is applied.
Do not force shutoff valves, supply connections, mounting hardware, or internal faucet parts.
Instead, work from the evidence: dry the area, operate the faucet briefly, locate the first fresh moisture, and identify the component involved.
If you cannot reliably control the water supply before a repair, stop before disconnecting plumbing components.
Watch for Water Near Electrical Equipment
Under-sink cabinets may contain garbage-disposal wiring, receptacles, electrical cords, or other powered equipment.
If leaking water reaches or approaches electrical components, stop using the faucet and stay out of the wet area.
Do not handle plugs, receptacles, disposal wiring, or other electrical equipment while standing in water or while the surrounding area is wet. Do not attempt to work on energized electrical components.
An active leak spreading through the cabinet should also end the diagnostic testing. Control the water only if the appropriate shutoff valve can be operated safely, and obtain qualified help when necessary.
When to Call a Plumber
Call a qualified plumber if the leak remains active or spreading, the source cannot be safely identified, or repairing it requires faucet disassembly beyond your comfort level.
Professional help is also appropriate when shutoff valves are damaged or unreliable, supply connections are badly corroded, or the faucet or mounting components are visibly damaged.
If water has reached electrical equipment, address that hazard before continuing plumbing work. Do not keep operating the faucet to gather more evidence once the leak presents a risk to cabinetry, flooring, or electrical components.
Final Thoughts
When you find a faucet leaking at base level, identify where the water begins before tightening or replacing anything. Dry the faucet, sink deck, and cabinet, then use short controlled tests to distinguish splashing from a handle-area leak, internal faucet problem, loose mounting area, or leak below the sink.
Follow the water to its first fresh wet point rather than its final puddle. Once the actual source is clear, you can decide whether the problem involves a simple faucet component or requires qualified plumbing help.