
garage door gaps on the sides: what causes them
A garage door gap on sides often comes from worn, hardened, curled, missing, or poorly positioned side weather seals. It can also appear when the door is not sitting normally in the opening or when the jamb or trim supporting the seal is damaged. Weatherstripping can correct an ordinary edge gap only when the garage door itself is stable and operating normally.
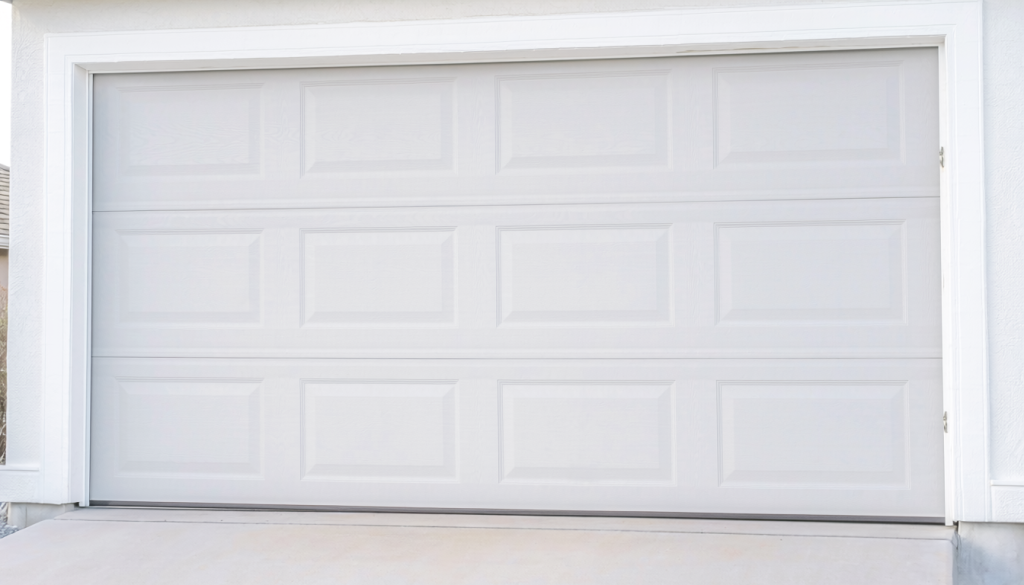
| Side-gap pattern | Likely cause | First step |
|---|---|---|
| Small even gap along both sides | Worn or poorly positioned side seals | Inspect seal condition and contact |
| Gap noticeably wider on one side | Door-position, jamb, or mechanical issue | Check normal door operation before sealing |
| Gap widens from top to bottom | Uneven jamb, door position, or structural movement | Avoid hiding it with thicker weatherstripping |
| Flexible seal is curled | Aged or deformed material | Clean, reposition, or replace as appropriate |
| Seal is cracked, hardened, or missing | Weatherstripping failure | Match a compatible replacement |
| Seal presses heavily against door | Excessive compression | Correct seal position if appropriate |
| Jamb trim is loose, rotten, cracked, corroded, or moving | Failed mounting surface | Repair the underlying condition first |
What Garage Door Side Weather Seals Do
Garage-door side weather seals are normally attached to the exterior jambs or stop molding along both vertical sides of the opening. A flexible flap extends from the mounting base and lightly contacts the exterior face of the garage door when it is fully closed.
That contact helps close the ordinary narrow opening between the moving door and the stationary jamb. A properly positioned side seal may reduce airflow, visible light, dust, leaves, insects, and small amounts of wind-driven moisture entering around the edges.
The seals do not make a garage airtight or waterproof, guarantee that pests will stay out, or compensate for a garage door that is crooked or damaged. They also cannot correct structural movement.
The purpose is simple: provide flexible edge contact around a garage door that already closes normally.
Confirm the Gap Is Along the Sides
Close the garage door normally and inspect both vertical jambs from a safe location. Look for daylight, moving air, dust patterns, missing weatherstripping, curled or hardened vinyl, and obvious differences between the left and right sides.
Pay attention to the shape of the opening. A gap that stays fairly consistent from top to bottom suggests something different from one that becomes dramatically wider near one corner.
Make sure the opening is actually along the vertical jamb. If daylight appears above the door instead, the issue belongs to the garage door top seal and header area.
A gap directly beneath the closed door is also a separate repair area. Side weatherstripping should not be extended or thickened to compensate for a bottom gap.
Correctly identifying the location before buying material prevents several common repair mistakes.
Read the Side-Gap Pattern
The pattern of the opening can help distinguish ordinary weather-seal wear from a problem involving the door, jamb, or garage-door system.
Small Even Gaps on Both Sides
A small, relatively consistent opening on both sides is more likely to involve weather-seal fit than severe door misalignment.
The existing seals may be worn, hardened, or mounted slightly too far from the door. The flexible flaps may have shortened, curled away from the door, or lost enough flexibility that they no longer maintain contact.
An incorrect replacement profile can create the same problem. A flap that is too short may leave daylight even though the mounting base is installed correctly.
A reasonably symmetrical pattern does not prove that the seals are the only issue, but it makes ordinary weatherstripping wear more likely than a dramatically crooked door.
Gap Wider on One Side
A clearly larger opening on one side deserves more caution. Possible causes include a door that is not sitting normally in the opening, inconsistent closed position, a damaged panel, movement in the jamb or trim, uneven seal placement, or a garage-door hardware issue.
The weather seal itself may still contribute, but replacing it with unusually thick material is not a good way to hide a major difference between the two sides.
If the door appears crooked, unstable, damaged, or inconsistent in where it stops, weatherstripping should not be used as the corrective mechanism.
Gap Changes From Top to Bottom
A tapered gap that grows noticeably wider toward the top or bottom may point to an uneven jamb, moved trim, garage-door alignment problem, damaged panel, structural movement, or a side seal installed unevenly.
Small variations can sometimes come from weather-seal placement, but a pronounced taper deserves broader evaluation.
Do not progressively increase weatherstripping thickness to fill a major taper. Doing so can create heavy contact in one area while leaving the underlying door or opening problem unresolved.
Inspect Door Operation Before Seal Work
Before cleaning, repositioning, or replacing a side seal, observe the garage door through a normal opening and closing cycle from a safe location.
The door should open and close normally, reach a consistent closed position, and avoid obvious binding, jerking, or unexpected reversal. It should not appear crooked or unstable.
This observation is not an invitation to perform mechanical garage-door adjustments. Springs, cables, rollers, tracks, brackets, panels, and opener settings are outside the scope of side-weather-seal work.
If the garage door does not operate normally, correct evaluation of the door system comes before weatherstripping. Side seals should close an ordinary edge opening, not hide mechanical problems.
Inspect the Existing Side Seals
Examine the accessible height of both side weather seals with the garage door closed and stable.
Look for cracking, splitting, missing sections, hardened material, curled flaps, shrinkage, and loose accessible fasteners that clearly belong to the weather seal. Dirt or layers of paint can also prevent a flexible flap from moving freely.
The flap should lightly contact the exterior face of the closed garage door through most of its height. It should not fold sharply, scrape heavily, develop deep creases, enter joints between door sections, or interfere with moving hardware.
Also inspect the jamb or stop molding that supports the seal. Loose trim, rot, corrosion, cracking, water staining, separation, or visible movement can prevent the weatherstripping from remaining properly positioned.
A new garage door side seal should not be installed over a failed mounting surface.
Cleaning, Repositioning, or Replacement
Not every side gap requires new weatherstripping. The correct action depends on the condition of the existing material and mounting surface.
Cleaning may be enough when the seal is complete, flexible, properly shaped, and securely mounted but dirt or paint is interfering with normal flap movement. Remove ordinary loose debris without working around garage-door hardware.
Minor repositioning may be reasonable when the garage door operates normally, the mounting trim is sound, the weather seal itself remains usable, and only accessible fasteners clearly belonging to the weather seal are involved.
Keep any repositioning strictly limited to the weather seal. Do not move tracks, brackets, rollers, hinges, panels, springs, cables, or opener components to improve seal contact.
Replacement is more appropriate when the side weatherstripping is cracked, hardened, permanently curled, badly shortened, missing, or no longer able to make controlled contact with the door.
Choose Compatible Side Weatherstripping
Replacement weatherstripping should fit the opening and mounting surface rather than being selected only by package description.
Compare the height of the opening, flexible flap length, mounting-base width, material flexibility, original orientation, jamb or trim material, existing fastener method, and expected exterior exposure.
Sunlight, temperature changes, wind, and moisture all affect flexible seals over time, so use material intended for the application.
Products advertised as universal may still differ substantially in flap length, stiffness, mounting-base size, and installation requirements. When practical, matching the existing style, dimensions, and mounting method is the safest general approach.
The objective is not to find the thickest available weatherstrip. The correct seal needs enough reach to contact the closed door lightly without creating unnecessary resistance.
Basic Replacement Expectations
Homeowner replacement is reasonable only when the garage door is stable, operates normally, the side weather seal is safely accessible, and the supporting jamb or stop molding is sound.
Before removing the old seal, photograph its position and note which direction the flexible flap faces. This provides a useful reference when positioning the replacement.
Remove only accessible fasteners clearly associated with the weather seal. Clean ordinary loose debris from the sound mounting surface and position the compatible replacement according to its instructions.
Use fasteners appropriate for both the product and the mounting material. Do not stretch flexible vinyl during installation. Stretched weatherstripping can later contract and create gaps at the top, bottom, or between sections.
Keep the work away from tracks, rollers, brackets, springs, cables, and other garage-door components. Side-weather-seal replacement should not require altering any of those systems.
Set the Correct Side-Seal Contact
The flexible flap should touch the exterior face of the closed garage door lightly along most of its height.
Too little contact can leave daylight, airflow, and an opening for dust or debris. The seal may be mounted too far away, the flap may be too short, or the wrong profile may have been selected.
Too much contact can cause the flap to fold, scrape, make noise, wear prematurely, or pull on its mounting fasteners. Excessive pressure also creates unnecessary resistance as the garage door moves.
Keep the weatherstripping clear of panel joints, rollers, tracks, brackets, and other moving hardware.
Do not increase compression to compensate for a crooked garage door. When contact varies dramatically because of door position, the cause needs to be addressed rather than hidden behind thicker weatherstripping.
Test the Complete Garage Door
After cleaning, repositioning, or replacing the side seals, clear people, pets, tools, and stored objects from the garage-door travel path.
Operate the garage door through a complete cycle from a safe location.
Confirm that the door opens and closes normally, reaches a consistent closed position, and does not bind, jerk, or reverse unexpectedly. The side seals should maintain light, reasonably even contact without catching between door sections.
Also check that the mounting bases remain secure and that the flexible flaps return to their normal position after the door moves.
If the garage door begins operating differently after the weather-seal work, stop and correct the seal rather than changing opener force, travel, or safety settings.
When New Side Seals Are Not Enough
Garage door side weatherstripping cannot repair broken springs, damaged cables, bent tracks, damaged rollers or brackets, damaged panels, or an unbalanced door.
It also cannot correct crooked door movement, inconsistent closure, opener problems, loose jambs, rotten trim, severe opening distortion, or structural movement.
Significant or recurring water intrusion may involve exterior drainage or building conditions beyond the side seal. Adding more weatherstripping should not be used to conceal deterioration or redirect water without understanding its source.
If the side seals are sound but daylight or airflow is concentrated beneath the closed door, inspect the garage door bottom seal instead. That gasket belongs to the moving bottom edge of the door and serves a different sealing location.
Common Mistakes
A common mistake is buying new weatherstripping before studying the gap pattern. If the opening is dramatically uneven, the problem may not be the seal.
Homeowners also sometimes confuse side, top, and bottom openings and install material in the wrong location. Each sealing area has its own components and repair approach.
Flexible flaps can be installed backward, stretched during installation, mounted too far from the door, or pressed too tightly against it. Each of these mistakes can create poor contact or premature wear.
Another mistake is using thick weatherstripping to hide a crooked or inconsistently closing door. Weather seals should accommodate an ordinary edge opening, not correct mechanical geometry.
Do not install new material over rotten, corroded, wet, cracked, loose, or moving trim. Avoid unsuitable fasteners and stay clear of garage-door hardware while working.
After any seal work, always test the complete garage door. Eliminating daylight is not a successful repair if the door no longer operates normally.
Safety and When to Call a Professional
Professional garage-door service is appropriate when:
- Springs appear damaged.
- Lift cables appear damaged.
- Tracks are damaged.
- Rollers are damaged.
- Brackets are damaged.
- Garage-door panels are damaged.
- The door is crooked or unstable.
- The door appears unbalanced.
- The door closes inconsistently.
- The opener reverses unexpectedly or operation is abnormal.
- The side gap is dramatically wider on one side.
- The opening changes severely from top to bottom.
- Jamb or stop molding is loose, rotten, cracked, corroded, or moving.
- Structural movement is visible.
- Water intrusion is substantial or recurring.
- Safe access to the weather seal cannot be maintained.
Do not adjust springs, loosen or remove spring hardware, touch or adjust lift cables, adjust tracks or rollers, alter brackets, repair damaged panels, change opener force or travel settings, bypass safety sensors, or work beneath an unsupported or unstable garage door.
Do not attempt to mechanically shift, center, straighten, align, or balance the garage door as part of weather-seal work.
Final Thoughts
Start by confirming that the garage door gap on sides is actually along the vertical jambs. Read the pattern of the opening, verify that the garage door operates normally, and inspect both the weatherstripping and the trim supporting it.
Clean, reposition, or replace the side seals only when those actions fit the condition you find. The flexible flap should make light, reasonably even contact rather than being forced tightly against the door.
Afterward, test the complete garage door. If the gap points to mechanical trouble, structural movement, damaged jamb material, or major water intrusion, the problem requires more than new side weatherstripping.