
How to Detect Air Leaks in Your House
If you are trying to learn how to detect air leaks in house areas without specialized equipment, start with a visual inspection and simple airflow checks around likely leakage points. Moving tissue, repeatable drafts, weak door or window seal contact, and visible gaps can all provide useful clues. However, cold surfaces alone do not prove that air is leaking, and hidden or whole-house leakage may require professional testing.
The goal is to identify, confirm, and document suspected home air leaks before deciding what repair work may be appropriate.
| Method | Best use | Positive clue | Main limitation |
|---|---|---|---|
| Visual inspection | Accessible gaps and damaged seals | Visible gap, daylight, damaged seal | Does not measure airflow |
| Hand test | Localized suspected drafts | Repeatable felt airflow | Subjective |
| Tissue test | Small stationary leaks | Repeatable tissue movement | Fans and HVAC can affect results |
| Paper seal-contact test | Operable doors and windows | Uneven pulling resistance | Tests seal contact only |
| Two-person flashlight test | Larger visible gaps | Light visible through opening | Does not measure leak severity |
| Surface-temperature comparison | Finding suspicious cold areas | Local temperature difference | Cold does not prove leakage |
| Professional blower-door test | Whole-house leakage | Measured building leakage | Requires specialized equipment |
1. Signs That Suggest an Air Leak
Some symptoms can help you find air leaks in your house, but they should be treated as clues rather than proof.
Common signs include:
- noticeable drafts near exterior walls or openings
- rooms that remain noticeably warmer or colder than nearby areas
- whistling sounds around windows, doors, or penetrations
- curtains moving when nearby fans and HVAC equipment are not causing the movement
- dirt or dust streaking near gaps
- unusually cold areas near exterior boundaries
Be careful when interpreting temperature differences. A cold window, wall, or floor can result from normal heat transfer through materials, insulation differences, or thermal bridging. It does not automatically mean outside air is entering the house.
2. When and How to Test
Air leak detection is easier when indoor and outdoor conditions make airflow more noticeable.
Useful conditions may include:
- a noticeable indoor-to-outdoor temperature difference
- mild outdoor wind
- exterior doors and windows closed normally
- relatively stable indoor conditions
Before interpreting a draft, consider other sources of air movement. Supply registers, ceiling fans, bathroom or kitchen exhaust fans, open doors, and even your own movement can make air seem to be coming through a gap.
Try to compare suspected areas under similar conditions and repeat your observations.
Do not attempt to create strong negative pressure in the house by manipulating exhaust fans, whole-house fans, or combustion equipment. Professional diagnostic testing is a safer way to evaluate whole-house leakage under controlled pressure.
3. Safe DIY Air-Leak Detection Methods
Visual Inspection
Begin with areas you can inspect safely without disassembling anything.
Look for:
- visible gaps
- cracked, loose, or missing seals
- daylight around closed openings
- deteriorated weatherstripping
- separated trim joints
- visible penetrations around plumbing, wiring, cables, or other utilities
A visible gap confirms that an opening exists, but it does not necessarily tell you which repair material should be used. Some openings are intentional, while others may involve drainage, ventilation, electrical, fire-safety, or combustion requirements.
Hand Test
The back of your hand can help detect localized airflow because it may be sensitive to a cool draft.
Move your hand slowly near a suspected opening without touching electrical equipment, hot surfaces, sharp materials, or anything that appears damaged.
If possible, compare the suspected location with a nearby area that appears well sealed. Repeatable airflow in one area but not the comparison area can strengthen your suspicion.
This is a qualitative test only. It does not measure how much air is leaking.
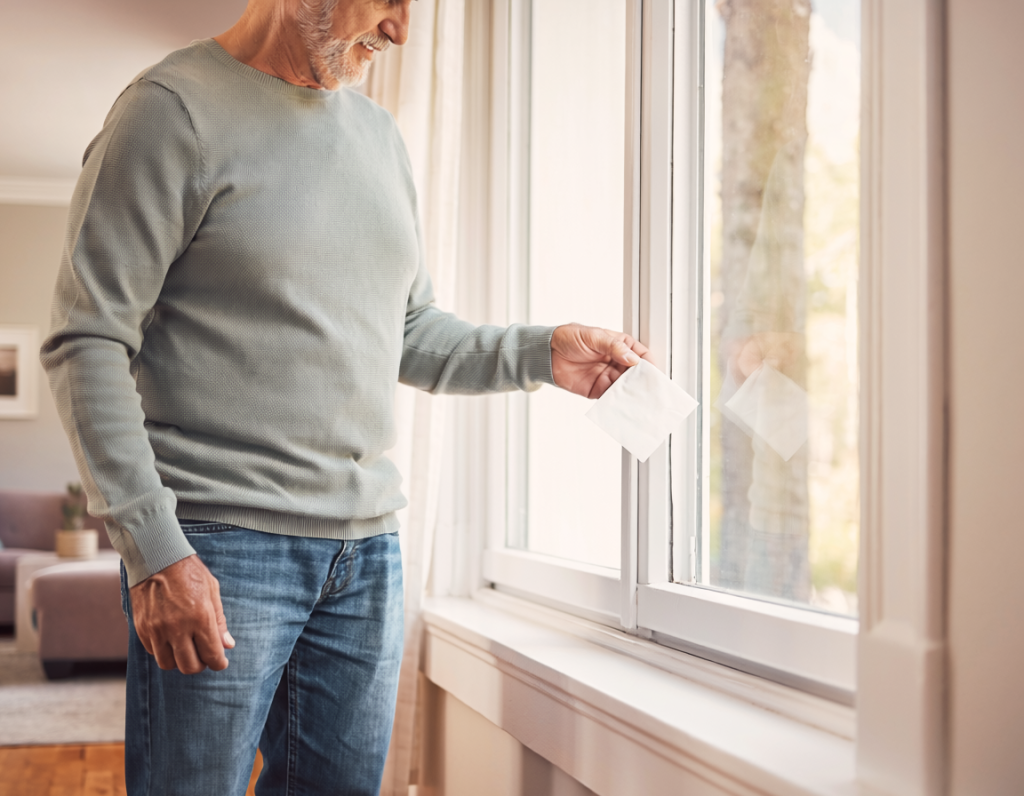
Tissue Test
A lightweight tissue can make small air movements easier to see.
Hold the tissue near a suspected stationary gap and observe it without waving or moving your hand unnecessarily. If the tissue repeatedly moves toward or away from the same location, airflow may be present.
Repeat the test before reaching a conclusion.
Tissue movement can also be caused by:
- HVAC airflow
- ceiling or exhaust fans
- body movement
- changing outdoor wind
One brief movement should not be treated as proof of a leak.
Paper or Dollar-Bill Seal-Contact Test
For an operable window or exterior door, a strip of ordinary paper can help indicate whether the closed seal makes consistent contact.
Place the paper across the seal area, then close and latch the window or door normally. Gently pull on the paper.
Repeat the test at several locations around the opening.
If the paper pulls out easily in one spot but has noticeably more resistance elsewhere, the seal may be making weaker contact at that location.
Do not slam, force, or excessively tighten a window or door during this test. The paper test evaluates seal contact only. It does not measure whole-house leakage or determine the correct repair.
Two-Person Flashlight Test
A flashlight may help reveal obvious gaps around some closed openings.
One person can shine a flashlight from one side of the opening while another person observes from the opposite side. Visible light can indicate that a larger gap is present.
This method is most useful for obvious openings. Light passing through a gap does not indicate how much air is moving through it or how serious the leakage is.
Do not perform this test around unsafe electrical equipment, unstable areas, or locations that are difficult to access safely.
Surface-Temperature Comparison: A Clue, Not Proof
A colder surface may help identify an area worth investigating, but temperature alone cannot confirm an air leak.
Temperature differences can result from:
- heat conduction through glass or building materials
- differences in insulation
- thermal bridging
- sunlight or shade
- moisture
- actual air movement
An infrared camera or surface-temperature device can reveal patterns, but those patterns still require interpretation. A cold area is not automatically an opening to the outdoors.
4. Where to Check for Air Leaks
Air leakage can occur at many building boundaries, so do not limit your inspection to windows and doors.
Attic-Access and Ceiling Boundaries
Accessible ceiling boundaries can be significant leakage locations.
Inspect visible areas around:
- attic hatches
- accessible ceiling penetrations
- plumbing or wiring penetrations
- visible dropped soffits or chases
Limit your inspection to areas you can reach safely. Do not disturb insulation or enter an attic that has unsafe flooring, poor access, electrical hazards, excessive heat, contamination, or other hazards.
Utility and Plumbing Penetrations
Pipes, wiring, cables, and other utilities sometimes pass through openings larger than the penetration itself.
Inspect only visible, accessible gaps.
Do not open walls, electrical boxes, panels, mechanical equipment, or other assemblies to search for hidden leakage.
Basement Rim Joist and Sill Areas
Where accessible, inspect the perimeter where the house framing meets the foundation.
Look for visible gaps, daylight, or repeatable airflow around penetrations and joints.
Avoid entering unsafe crawlspaces or areas with standing water, significant dampness, contamination, damaged wiring, or uncertain structural conditions.
Fireplace and Chimney Boundaries
Visually inspect accessible areas around fireplace and chimney boundaries for obvious gaps or damaged surrounding materials.
Do not seal an unidentified fireplace or chimney opening merely because you feel airflow. Some openings may be necessary for safe operation.
Do not perform improvised pressure testing around combustion appliances.
Exterior Doors and Thresholds
Check exterior doors around:
- perimeter weatherstripping
- upper and lower corners
- threshold contact
- visible daylight
- uneven gaps between the slab and frame
If you notice an unusually large or uneven gap between the door and frame, determine why the gap exists before choosing any sealing material. Misalignment and other door problems can affect the opening as well as the weather seal.
Operable Windows and Trim
Check around:
- sash contact points
- meeting rails
- visible trim gaps
- weather seals
- areas where daylight appears around a closed window
Stay focused on detection rather than repair during this inspection.
Do not block window drainage paths or weep holes. Those openings may be intentional.
Baseboards on Exterior Walls
Visible gaps along exterior-wall baseboards may deserve closer inspection.
Look for a stationary gap or repeatable airflow rather than assuming every cool baseboard indicates leakage.
Attached-Garage Boundaries
Inspecting boundaries between an attached garage and living space requires extra caution because these assemblies can affect fumes, fire separation, and indoor-air safety.
Limit your inspection to visible conditions. Do not cut, drill into, remove, or modify garage-separation materials simply to investigate a suspected air leak.
5. How to Confirm and Record a Suspected Leak
A single observation can be misleading. Where practical, use at least two observations before treating a location as confirmed.
For example:
- visible gap plus repeatable tissue movement
- weak paper contact plus felt airflow
- repeatable airflow at the same location on two different days
Record suspected leaks as you inspect the house.
Useful details include:
- room
- exact location
- date and time
- weather conditions
- test method
- what you observed
- whether the result repeated
- apparent strength: slight, moderate, or strong
Photographs can also help document visible conditions.
DIY observations can identify likely leakage locations, but they do not quantify the actual leakage rate.
6. What a Detection Test Cannot Tell You
Basic home air leak detection has important limits.
DIY checks usually cannot determine:
- the exact size of a leak
- the whole-house leakage rate
- the amount of energy being lost
- whether a cold surface is caused by conduction or airflow
- whether an opening is intentional
- whether moisture is hidden inside a wall, ceiling, or floor assembly
- which sealant, weatherstripping, insulation, or repair method is appropriate
Detection should therefore remain separate from repair planning. Once you know where suspected leaks are located, the type of building assembly and the reason for the opening still matter.
7. When Professional Testing Is Worth It
Professional testing may be useful when leakage appears widespread, the source cannot be located, or comfort and energy problems continue despite addressing obvious openings.
Blower-Door Test
A blower-door test measures whole-house leakage under controlled pressure conditions.
The equipment allows a trained professional to evaluate how leaky the building enclosure is and can make hidden leakage pathways easier to identify.
A blower-door test should not be recreated with improvised household fans or exhaust equipment.
Thermal-Camera Inspection
A thermal camera can reveal temperature patterns that may help locate suspicious areas.
However, interpretation is important. Temperature differences can result from insulation conditions, thermal bridging, moisture, sunlight, and other causes in addition to air leakage.
Home Energy Audit
A broader home energy audit may be worthwhile when:
- drafts or comfort problems occur throughout the house
- energy costs seem unusually high
- rooms remain uncomfortable after obvious leaks have been addressed
- hidden leakage is suspected
- insulation and air leakage need to be evaluated together
An audit can provide a more complete picture than testing individual windows or doors in isolation.
8. Detection Safety and Stop Conditions
Avoid candles, incense, open flames, and improvised smoke-producing tests when looking for air leaks.
Also avoid:
- removing electrical covers
- probing wiring
- opening breaker panels
- disturbing unknown insulation
- entering unsafe attics or crawlspaces
- creating improvised whole-house depressurization
- sealing around combustion equipment based only on a draft test
Stop the inspection and seek qualified help if you notice a gas or combustion odor, suspected soot or backdrafting, significant moisture or mold, exposed or damaged electrical equipment, unsafe attic or crawlspace access, an uncertain attached-garage assembly, or an opening that cannot be identified safely.
9. Next Step After Confirming the Leaks
Once you have detected, confirmed, and documented suspected leaks, the next step is deciding which openings actually require correction and what type of repair is appropriate.
Use an air-sealing checklist to organize that next stage without mixing detection with the repair process itself.
A careful inspection gives you something more useful than a list of cold spots: it gives you documented locations that can be evaluated individually and, when necessary, compared with professional whole-house testing.
Final Thoughts
Learning how to detect air leaks in house areas safely starts with simple observation, repeatable airflow checks, and careful documentation. Visual gaps, moving tissue, weak seal contact, and recurring drafts can all help identify likely leakage points, but no single DIY test proves the full size or importance of a leak.
Once you have confirmed and recorded the problem areas, move on to the repair-planning stage rather than sealing openings at random. The goal is to correct unwanted air leakage without blocking drainage, ventilation, or openings that serve a necessary purpose.