
Storm Door Sweep Replacement: How to Replace It
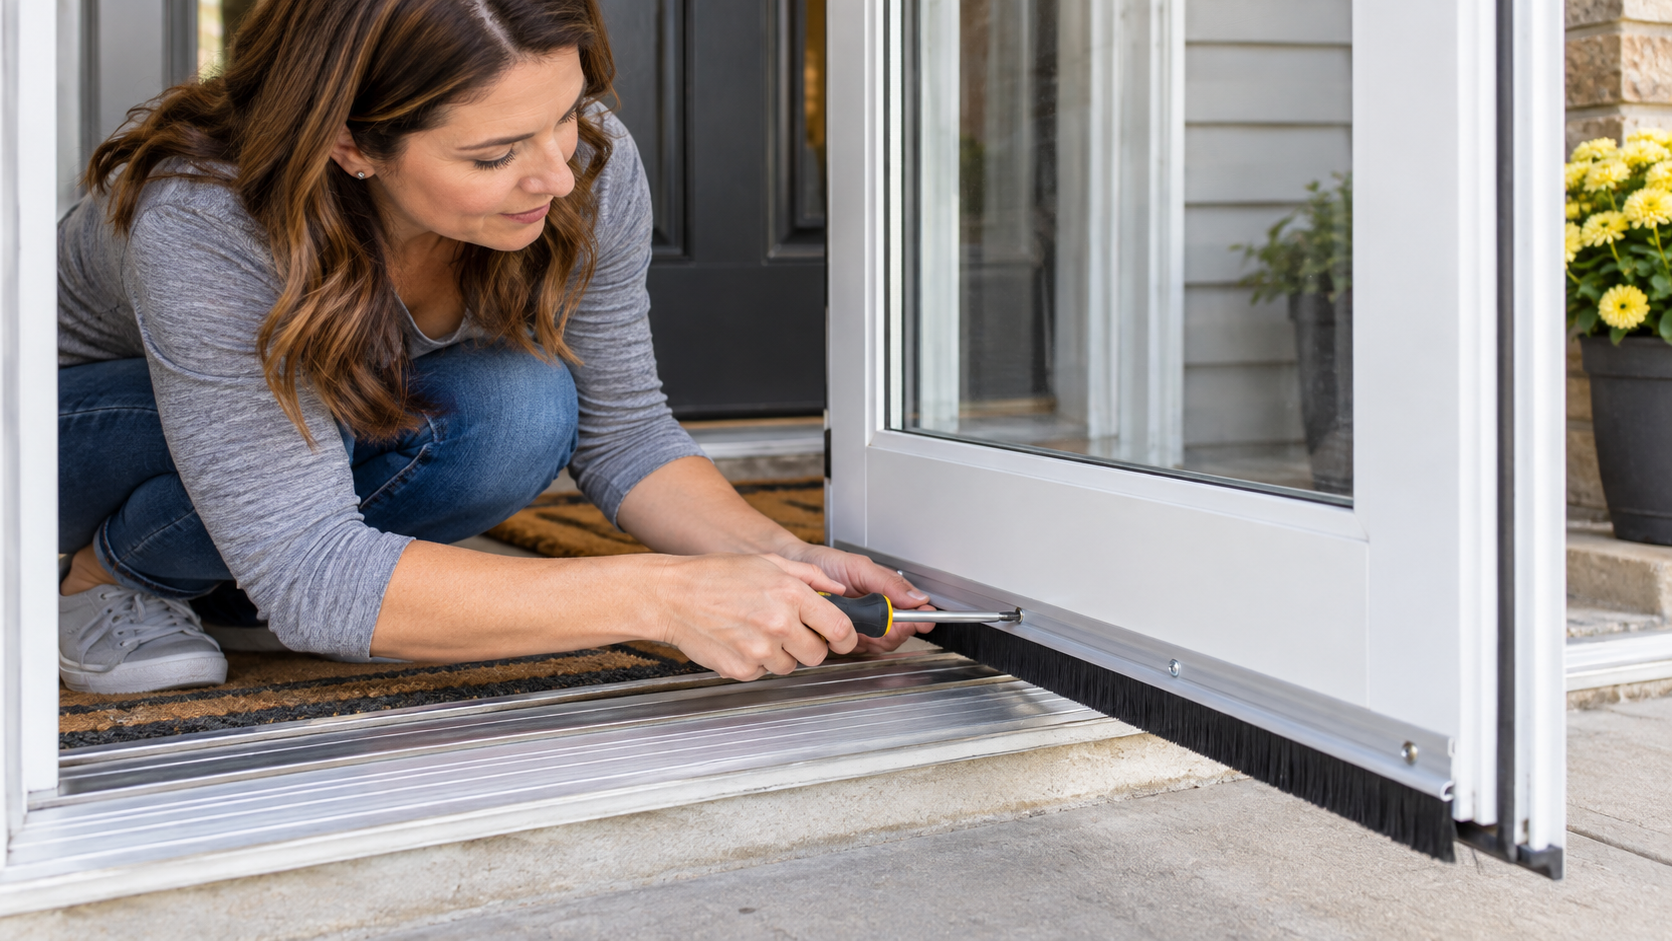
Storm door sweep replacement starts by matching the new part to the existing bottom-seal design, dimensions, and mounting method. The replacement should make light contact with the sill without dragging heavily, folding underneath the door, or blocking drainage. A new sweep can improve the seal at the bottom of a storm door, but it cannot correct sagging, damaged rails, closer problems, unstable glass, or active water intrusion.
| Existing design | Likely replacement | Main fit concern |
|---|---|---|
| Flexible fin fastened to door face | Surface-mounted sweep | Mounting holes, height, and fin contact |
| Flexible insert inside bottom channel | Slide-in sweep insert | Profile, channel width, and fin direction |
| Bottom rail with one or more fins | Matching rail or bottom assembly | Door-specific compatibility |
| Sweep with outward drip edge | Similar oriented replacement | Drip edge must face the correct direction |
| Torn insert with intact rail | Compatible replacement insert | Spine, bead, thickness, and channel fit |
| Bent, loose, or corroded rail | Rail repair or replacement | A new insert alone may not solve the problem |
What a Storm-Door Sweep Does
A storm-door sweep seals part of the small clearance between the bottom of the storm door and the sill. When properly fitted, it can reduce drafts, dust, leaves and other debris, insects, visible light, and small amounts of wind-driven moisture.
The sweep is not intended to make the doorway airtight or waterproof. It also cannot guarantee that insects will stay out, especially if other gaps exist around the storm-door assembly.
The primary exterior entry door remains responsible for the home’s main weather seal and security. A storm-door sweep is a secondary component rather than a substitute for proper sealing of the main door. See door sweep vs weatherstripping for the distinction between bottom seals and perimeter weatherstripping.
Identify the Existing Sweep Design
Before buying anything, determine how the existing storm door bottom sweep is attached. Storm doors use several different systems, and replacements that look similar may not fit the same way.
Surface-Mounted Sweeps
A surface-mounted sweep usually has a narrow strip fastened across the lower face of the storm door. One or more flexible fins extend downward toward the sill.
The mounting strip may have round holes or slotted holes. Slotted holes can allow limited height adjustment, but the sweep still has to match the construction of the door. Thin aluminum, vinyl, or other lightweight storm-door materials should not be treated like a heavy exterior entry door.
Some surface-mounted sweeps include an outward-facing drip edge. Preserve that orientation when replacing the part because installing the strip backward can interfere with its intended function.
Slide-In Sweep Inserts
Some storm doors use a flexible insert that slides into a channel along the bottom rail. The insert may have a bead, spine, barb, or shaped edge that fits into the channel.
For this type of replacement, compare more than overall length. The new insert should match the original profile, channel width, fin direction, fin count, thickness, and attachment shape.
Do not force an insert into a channel because it looks approximately correct. A mismatched spine or bead can damage the channel or leave the new sweep loose.
Complete Bottom Assemblies
Other storm doors use a complete bottom rail or proprietary assembly rather than a simple replaceable insert. The assembly may combine retaining channels, fins, and an outward-facing drip feature.
A generic sweep insert may not be suitable for these systems. If the bottom rail is bent, cracked, loose, or heavily corroded, replacing only the flexible portion may not restore proper operation.
Manufacturer information, photographs, and the original part are especially useful when dealing with a door-specific bottom assembly.
Inspect Before Removing the Sweep
Before taking the old sweep off, inspect the complete bottom of the storm door. Look for torn, curled, hardened, split, or missing fins as well as a loose mounting strip, missing fasteners, a bent or corroded rail, blocked drainage, or uneven wear.
Heavy contact at one corner combined with a gap at the other can indicate more than worn sweep material. The door may be sagging, rubbing, or sitting unevenly in the frame.
Also look at the closer and any glass or screen panels. The sweep should not be replaced as though it were the only problem if the door is unstable or another major component is not functioning normally.
Take photographs from the inside, outside, and underneath before removing anything. Record the direction of the fins, the shape of the mounting strip or channel, and the direction of any drip edge.
Operate the door several times. It should feel stable, reach the frame, close under normal closer action, and latch without unusual force. Stop if the door is unstable or operating abnormally.
Choose a Compatible Replacement
Start by matching the original mounting method. A surface-mounted storm door sweep should generally be replaced with a compatible surface-mounted design, while a slide-in channel needs an insert designed for that channel.
Measure the actual door width rather than relying only on a nominal door size. For inserts, compare the spine or bead shape, channel dimensions, fin direction, thickness, and number of fins.
Also examine the clearance between the bottom of the door and the sill across the full width. A reasonably even gap may respond well to the correct replacement sweep. A sharply uneven gap may indicate door sag, hinge wear, frame movement, or damage to the bottom rail.
Do not assume that a product labeled universal will fit every storm door. When possible, compare the old part directly with the replacement and check manufacturer information for the door.
Basic Storm-Door Sweep Replacement
These steps apply only to an accessible sweep on a stable storm door that already opens, closes, and latches normally. Follow the manufacturer’s instructions when they differ from these general steps.
Prepare
Before starting:
- Open the storm door to a stable position.
- Prevent unexpected swinging.
- Keep fingers clear of hinges and closer arms.
- Confirm that the replacement matches the original design.
- Gather the basic hand tools required for the existing fasteners.
Do not remove large glass panels, dismantle an unstable door, or drill into unknown storm-door construction just to complete a sweep replacement.
Remove a Surface-Mounted Sweep
Support the mounting strip while loosening accessible fasteners with a correctly fitting hand screwdriver. Remove the screws carefully without twisting the strip or enlarging the existing holes.
Thin storm-door skins can be damaged by aggressive prying, so avoid using the door face as leverage.
If a fastener spins, breaks, or will not release with normal hand pressure, stop before damaging the mounting area.
Remove a Slide-In Insert
Follow the door or sweep manufacturer’s instructions when available. If the channel has an accessible open end, the old insert may slide out without disturbing the rail.
Do not force a jammed insert. Hardened material, accumulated debris, corrosion, or a bent channel can prevent normal removal.
Stop if getting the insert out would require bending, cutting, spreading, or dismantling the bottom rail.
Clean and Inspect
Once the old material is removed, clear away ordinary loose dirt and debris. A dry cloth or soft brush is usually sufficient unless the manufacturer’s instructions call for another cleaning method.
Inspect the mounting surface or channel before installing the replacement.
Stop if You Find Damage
Do not install a new sweep over damage that prevents secure attachment or proper drainage.
Stop if you find:
- Severe corrosion.
- Cracks.
- Enlarged or damaged fastener holes.
- Bent rail sections.
- Sharp damaged edges.
- Loose components.
- Blocked drainage.
- Weakened door material.
Those conditions may require repair of the bottom assembly rather than another insert or sweep.
Install the Replacement
Match the orientation of the original part. Align fins and any drip edge correctly, and keep slide-in material straight as it enters the channel.
Do not stretch flexible inserts during installation because stretched material can later shrink or pull out of position.
For surface-mounted products, use compatible fasteners and tighten them securely without crushing or distorting thin door material. Preserve drainage openings and other manufacturer-designed features.
Set Light Contact
The flexible fin should lightly touch or slightly overlap the sill when the door closes. It should not fold tightly underneath the door or create heavy resistance.
If a surface-mounted sweep uses slotted adjustment holes, make small and reasonably even height changes.
Do not lower one end excessively just to close a gap caused by a sagging or misaligned door.
Test the Storm Door
After installing the new sweep, open and close the door several times. The sweep should move across the sill without heavy scraping or folding underneath itself.
The finished door should:
- Open normally.
- Close under normal closer action.
- Avoid slamming.
- Reach the frame completely.
- Latch normally.
- Require no extra force.
- Maintain light, reasonably even sweep contact.
- Keep flexible fins from folding.
- Leave drainage openings clear.
- Keep glass and screen panels stable.
Sweep replacement is not a storm-door closer adjustment procedure. If the sweep fits correctly but the closing speed, latching action, or closer behavior remains wrong, see how to adjust a storm door closer.
Common Replacement Problems
Heavy Dragging
A replacement sweep that drags heavily may be installed too low, have fins that are too long, use the wrong profile, or be contacting an uneven sill.
Door sag or a bent bottom rail can produce similar symptoms.
If the sweep is adjustable, raise it only within its intended adjustment range. Do not cut, reshape, or shorten the sealing element unless the manufacturer’s instructions specifically permit it.
Remaining Gap
If a visible gap remains, the sweep may be mounted too high, the fins may be too short, or the insert profile may be incorrect.
Uneven clearance, bottom-rail damage, frame problems, or incomplete door closure can also leave part of the gap open.
Do not continue lowering the sweep until it drags heavily just to seal one corner. Uneven contact often indicates a problem elsewhere in the assembly.
Insert Will Not Enter the Channel
A slide-in insert that will not enter easily may have the wrong spine size or orientation. Debris, hardened remnants of the old seal, or a bent channel can cause the same problem.
Remove the replacement and compare the profiles again.
Never hammer, clamp, or force the insert into the channel.
Sweep Pulls Loose
A surface-mounted sweep can loosen when fastener holes are damaged, incompatible screws are used, or fasteners are overtightened. Heavy sill contact can also pull on the mounting strip each time the door operates.
A bent strip or incompatible replacement can produce similar problems.
Stop using the door if a loose sweep begins catching or creates a sharp-edge hazard.
When a New Sweep Is Not Enough
A new storm door bottom seal cannot correct a sagging or badly misaligned door, damaged hinges, a faulty closer, a warped or loose frame, or a bent or corroded bottom rail.
Replacement work should also stop if glass or screen panels are unstable, the sill or surrounding water-management components are damaged, structural movement is visible, or water enters during rain.
A storm door should open, close, and latch correctly without relying on heavy sweep contact to hold it in position.
If the door itself is mechanically unstable, correcting that condition takes priority over replacing the sweep.
Common Mistakes
Buying a replacement based on width alone is a common mistake. A sweep may be the correct length while having the wrong channel, fin profile, or mounting strip.
Entry-door and garage-door sweeps should not automatically be substituted for a storm-door part. A universal label also does not guarantee compatibility with every storm-door bottom rail.
Ignoring the original insert profile can lead to loose or jammed replacements. Installing an outward drip edge backward, stretching flexible material, or overtightening screws can also create problems.
Avoid blocking drainage openings or drilling into unknown door construction. The sweep should not be lowered until it drags heavily, and a mismatched insert should never be forced into a channel.
Finally, do not expect the sweep to repair door sag, frame movement, rail damage, or active rainwater entry. After replacement, always check closer operation and latching instead of assuming the project is complete when the bottom gap disappears.
Safety and When to Call a Professional
Professional help is appropriate when:
- The storm door cannot open, close, or latch normally.
- The door swings uncontrollably.
- The closer or hinges are damaged.
- The door or frame is badly misaligned.
- The bottom rail is bent, loose, cracked, or severely corroded.
- Fastener holes are badly damaged.
- The replacement profile cannot be identified.
- A channel would have to be bent, cut, or dismantled.
- Glass is cracked, loose, shifting, or unstable.
- Screen or glass panels are insecure.
- Water enters during rain.
- Soft material, staining, mold, or concealed moisture is present.
- Structural movement is visible.
- Security or safe exit may be affected.
- Older painted material may contain lead and would need to be disturbed.
- The cause of the problem cannot be identified confidently.
Do not remove large glass panels, dismantle unstable components, alter structural framing, drill into unknown construction, or force damaged parts as part of a routine storm-door sweep replacement.
Final Thoughts
A successful storm door sweep replacement begins with matching the original sweep design rather than choosing a product by width alone. Measure carefully, preserve the original fin and drip-edge orientation, and install the replacement so it makes light contact with the sill.
Keep drainage clear and test the door’s full operation afterward, including opening, closing, closer action, and latching. If the real problem is door alignment, unstable glass, bottom-rail or frame damage, active water entry, or structural movement, replacing the sweep alone is not the correct repair.