
faucet leaking from handle: what to check
A faucet leaking from handle areas often has a worn cartridge seal, O-ring, washer, stem seal, or packing component, but first confirm that the water is actually coming from the handle. Dry the faucet and surrounding surface completely, then run a short controlled test. Water can travel along the faucet body and make a base leak, spout leak, or other source look like a handle problem.
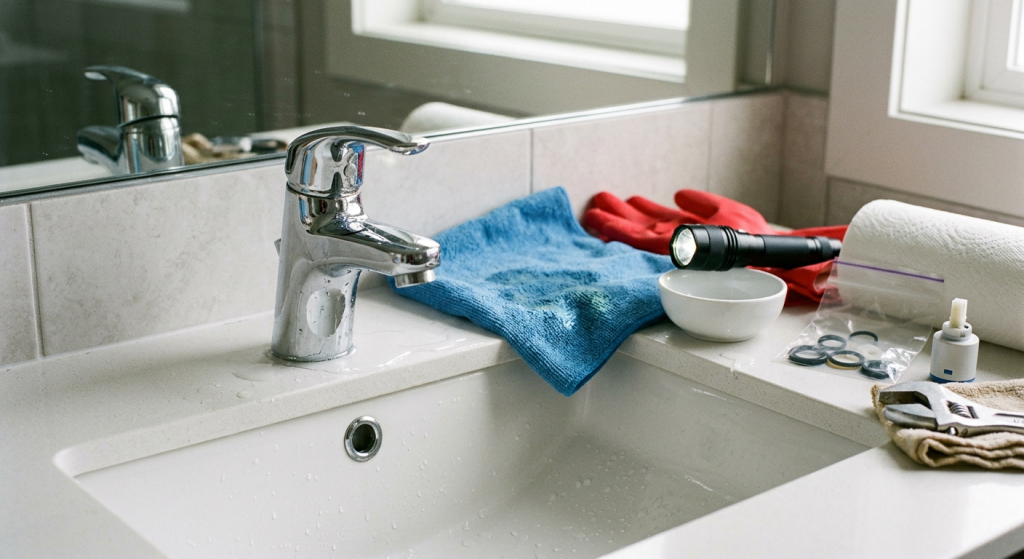
| What You Notice | What It May Suggest | First Check |
|---|---|---|
| Water appears only when handle moves | Internal seal, cartridge, stem, or packing issue | Dry faucet and move handle slowly |
| Water appears while faucet is running | Pressure-related internal leak or water tracking | Find the first fresh wet spot |
| Spout drips while faucet is off | Internal shutoff component may not be sealing | Confirm water comes from spout, not handle |
| Water pools around faucet base | Base-area leak or water tracking | Dry base and retest |
| Water appears below sink | Supply or connection leak | Inspect accessible plumbing underneath |
| Handle or faucet body feels loose | Loose hardware or mounting problem | Stop applying force and identify what moves |
Trace the Faucet Leaking From Handle Area First
Finding the first fresh water is more useful than immediately removing the handle.
Dry the faucet body, handle, sink deck, and surrounding countertop completely. If water has been collecting underneath the sink, dry that area as well.
Run a short, controlled test.
Start the faucet and watch the handle area closely. Move the handle slowly through its normal range while looking for the first sign of moisture.
With a two-handle faucet, test the hot and cold sides separately.
Water can travel downward along trim, the faucet body, or nearby surfaces before becoming visible. The wettest spot is not necessarily the source.
If water starts at the handle and then runs toward the base, you likely have a genuine handle-area leak. If the first water appears somewhere else, follow that source instead.
Do not loosen plumbing connections or faucet components until you have a reasonable idea where the leak begins.
If Water Appears When the Handle Moves
Water that appears specifically as the handle moves is an important diagnostic clue.
Depending on the faucet design, possible sources include:
- Cartridge seals
- O-rings
- Stem seals
- Packing components
- Washers used in some faucet designs
There is no single component that causes every faucet handle leak. Faucet construction varies considerably between models.
Pay attention to whether the leak appears immediately when the handle starts moving, only when the faucet is fully open, or throughout operation.
A handle that feels loose can also complicate the diagnosis. A loose handle screw may affect how the handle operates, but tightening the visible screw will not repair a worn internal seal.
Avoid assuming that every leak can be solved by tightening something.
Single-Handle Faucet Leaks
Many single-handle faucets control both temperature and flow through a cartridge assembly with internal seals or O-rings.
As these components wear, water may begin appearing around or beneath the handle during operation.
Before deciding that the cartridge needs replacement, confirm the leak begins in the handle area rather than traveling there from the spout, faucet body, or another nearby surface.
Also watch how the faucet behaves.
Changes in handle movement, unusual stiffness, or leaking that occurs only in certain handle positions can provide useful clues, but they do not identify a specific failed component without considering the faucet design.
Model identification becomes important if you proceed beyond diagnosis. Cartridges and seals are not universally interchangeable.
Two-Handle Faucets Need Separate Hot and Cold Tests
A two-handle faucet makes it easier to isolate which side is leaking.
Dry both handles and the faucet body. Turn on only the cold side and watch for fresh water. Dry everything again before testing only the hot side.
If water appears around one handle but not the other, the problem is more likely associated with the stem, cartridge, washer, seal, or packing components on that side.
Two-handle faucet construction varies. Some use cartridges, while others use stems, washers, or other sealing arrangements.
Do not buy replacement parts based only on the fact that the faucet has two handles. Identify the faucet and its internal design before choosing parts.
A Spout Drip Is Not the Same as a Handle Leak
A faucet that drips from the spout while turned off has a different visible symptom from water leaking around the handle.
Some of the same internal components may be involved, particularly cartridges, stems, washers, or seals. However, the diagnostic path is different because the water is escaping through the spout rather than appearing around the handle.
Watch the faucet while it is both running and turned off.
If the handle area stays dry but water continues dripping from the spout, do not treat it as a faucet handle leak simply because an internal cartridge or seal may eventually need attention.
Make Sure the Water Is Not Coming From the Faucet Base
Water can collect around the base of a faucet and spread toward the handle area, especially on a wet sink deck.
Dry both areas before testing.
If the first fresh water consistently appears where the faucet meets the sink or countertop rather than around the handle, switch to the base-leak diagnostic path. Faucet Leaking at Base: What to Check First covers those sources without unnecessarily disassembling the handle.
Do not try to stop an unidentified leak by randomly tightening mounting hardware or applying sealant around the faucet.
First determine where the water actually originates.
Check Below the Sink if the Handle Area Stays Dry
Water inside the cabinet points to another possible leak path.
Use a flashlight to visually inspect accessible areas around:
- Hot and cold supply lines
- Shutoff valves
- Faucet supply connections
- Sprayer hose, if present
- Underside of the faucet
Water can follow a supply line or faucet component before dripping into the cabinet, so trace moisture upward toward the highest fresh wet point.
Do not begin tightening connections at random.
If water is actively entering the cabinet, stop the test and control the water rather than continuing to run the faucet for diagnosis.
A significant under-sink leak should be addressed as an under-sink plumbing problem, not assumed to be a handle leak.
Shut Off the Water Before Taking the Handle Apart
Once you have confirmed that water is leaking around the handle and you intend to inspect internal parts, shut off the hot and cold water supplies beneath the sink before disassembly.
Turn the shutoff valves using normal hand pressure.
Do not force a valve that is stuck, heavily corroded, leaking, or behaving abnormally. If a shutoff will not operate normally, Water Shut-Off Valve Won’t Turn: What Homeowners Should Know explains the safer next steps.
After the water is safely shut off, open the faucet to relieve remaining pressure.
Before removing small parts:
- Cover the sink drain
- Keep a small container for screws and clips
- Use a flashlight for better visibility
- Protect the faucet finish from tools
- Keep removed parts in order
Do not proceed if you cannot reliably shut off the water.
Do Not Force Stuck or Corroded Faucet Parts
Faucet handles and internal components can become difficult to remove because of corrosion or mineral buildup.
A decorative cap may resist removal. A handle screw may be corroded. A retaining component or cartridge may also be stuck.
Increasing force can turn a manageable leak into a damaged faucet.
Stop before you:
- Strip a handle screw
- Crack decorative trim
- Deform a retaining component
- Damage the faucet body
- Break a stuck cartridge
- Create a larger leak
Avoid aggressive plier use on finished faucet surfaces. Scratched or crushed trim does not improve access to the actual leak.
If a component requires substantial force and you are uncertain how it is retained, identify the faucet and its correct service procedure before continuing.
Overtightening Is Not a Reliable Faucet Repair
A leak does not automatically mean something is loose.
If a handle screw is clearly loose, gentle tightening may correct handle movement. That does not mean packing nuts, retaining nuts, cartridge hardware, or mounting components should be tightened indiscriminately.
Overtightening can damage seals, distort components, strip threads, or make the faucet harder to operate.
If an O-ring, washer, seal, or cartridge is worn, additional tightening may not restore the damaged sealing surface.
Diagnose first. Tighten only a component that is actually supposed to be tightened and only with appropriate force for that faucet design.
When Is a Beginner Repair Reasonable?
Replacing a cartridge, O-ring, washer, or similar service part may be a reasonable homeowner project when the leak source has been confirmed and the faucet can be safely isolated from the water supply.
Before proceeding, you should also be able to identify the faucet model or correct replacement component and understand how the handle is intended to come apart.
Do not assume a similar-looking cartridge, O-ring, or washer is interchangeable.
Basic disassembly is also more reasonable when parts come apart normally. A heavily corroded faucet, stuck cartridge, damaged fastener, or uncertain component arrangement raises the risk of turning a small leak into a larger repair.
This diagnosis does not require replacing parts immediately. Sometimes identifying the leak source and correct faucet model is the most useful first step.
Stop if the Entire Faucet Moves
The handle should operate without moving the entire faucet body.
If the faucet shifts at the sink deck or countertop while you try to remove or loosen handle components, stop applying force.
Movement can indicate a mounting problem. Continuing to twist the faucet can place stress on supply lines, faucet connections, the sink deck, or the countertop.
Do not use the faucet body as leverage against a stuck handle or internal component.
A loose faucet combined with a handle leak may require addressing more than one issue, and additional disassembly can make the source harder to distinguish.
When to Call a Plumber
Stop DIY work if a shutoff valve leaks or will not operate normally, the faucet body moves, or handle components cannot be removed without significant force.
Professional help is also appropriate when corrosion is severe, replacement parts cannot be identified, or the leak becomes worse during testing.
If water is actively leaking into the cabinet, control the water rather than continuing diagnostic tests. Multiple leak locations can also make professional diagnosis more practical than replacing individual parts based on guesswork.
Final Thoughts
A faucet leaking from handle areas often involves a cartridge, O-ring, washer, stem seal, or packing component, but confirm the source before taking anything apart. Dry the faucet completely, test it briefly, and watch for the first fresh water while the handle moves.
If the leak is genuinely coming from the handle, identify the faucet and safely shut off the water before considering internal parts. Stop if shutoff valves misbehave, components are stuck or corroded, the faucet body moves, or the leak worsens during testing.