
how to winterize an outdoor faucet before freezing weather
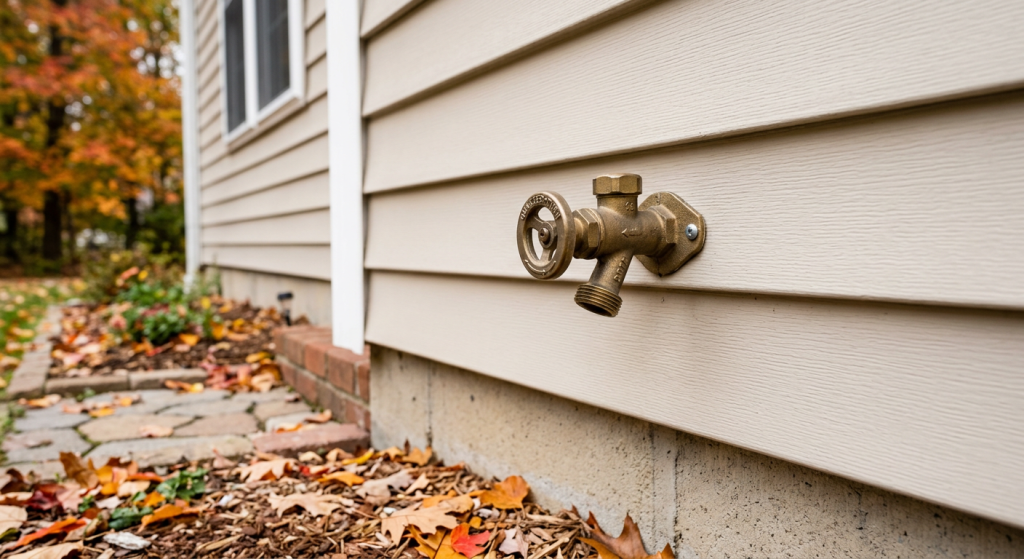
How to winterize outdoor faucet plumbing safely starts with removing every connected hose and accessory before freezing weather arrives. Then, if the outdoor line has a dedicated indoor shutoff, close it using normal hand pressure and drain trapped water from the line. Add an insulated cover where useful, but stop if a valve leaks, will not move normally, or you find signs of freeze damage.
| Step | Why It Matters | Beginner Check | What to Do |
|---|---|---|---|
| Remove hose | Prevents trapped water | Check for all attachments | Disconnect and drain them |
| Find indoor shutoff | May isolate outdoor line | Confirm correct valve | Close gently if designed for winter shutoff |
| Drain outdoor line | Reduces trapped water | Open outdoor faucet after isolation | Let available water drain |
| Check frost-free faucet | Design still requires drainage | Confirm hose is removed | Keep outlet unobstructed |
| Add faucet cover | Adds cold-air protection | Check secure fit | Install without trapping attachments |
| Inspect for leaks | Finds existing problems | Check inside and outside | Stop if leakage or damage appears |
When to Winterize an Outdoor Faucet
Winterize an outdoor faucet before sustained freezing weather or the first hard freeze, rather than waiting until the faucet or connected piping is already frozen.
The exact timing depends on local weather, but the practical rule is simple: prepare the faucet while temperatures are still safe enough to inspect and operate the plumbing normally.
Early preparation also gives you time to deal with a stuck shutoff valve, persistent drip, or other problem before freezing conditions arrive.
If a pipe or faucet is already frozen, winterizing steps are no longer the main issue. Do not use an open flame, torch, or unsafe heating equipment to thaw frozen plumbing.
Remove Hoses and Accessories First
Disconnecting the garden hose is one of the most important parts of outdoor faucet winterizing.
A connected hose can hold water at the faucet and prevent proper drainage. This is particularly important with frost-free faucets, which depend on being able to drain after the water is shut off.
Remove more than just the hose. Disconnect accessories such as:
- Hose splitters
- Timers
- Spray nozzles
- Quick-connect fittings
- Irrigation attachments
- Other hose-end accessories
Drain water from hoses and store them as appropriate for the season.
Do not leave a hose attached simply because it is empty at the far end. Water can remain trapped near the faucet or inside the connection.
Once everything is disconnected, inspect the faucet for dripping, cracks, or obvious damage.
Identify the Outdoor Faucet Type
Before doing anything with an indoor shutoff, understand what type of outdoor faucet you have.
A standard hose bibb or sillcock generally shuts water off relatively close to the exterior handle.
A frost-free or freeze-resistant faucet is different. Its actual shutoff point is located farther inside the building, where temperatures are normally warmer. When installed and operating correctly, water in the outer portion can drain after the faucet is turned off.
That design reduces freezing risk, but it does not make the faucet immune to freezing.
A frost-free faucet still depends on proper installation, drainage, hose removal, and adequate indoor warmth. If a hose or accessory traps water at the outlet, the faucet may not drain as intended.
Do not assume the words “frost-free” mean no winter preparation is necessary.
How to Winterize Outdoor Faucet Plumbing With an Indoor Shutoff
Some homes have a dedicated indoor shutoff valve controlling the water line to an exterior faucet. Others do not.
If your system has one, the basic winterizing process is to isolate that line and allow trapped water to drain.
Step 1: Confirm You Have the Correct Shutoff Valve
Locate the valve serving the outdoor faucet.
Do not close an unidentified valve simply because it is near an exterior wall. If you are uncertain what the valve controls, confirm its purpose before operating it.
Step 2: Close the Indoor Shutoff Gently
Turn the valve using normal hand pressure only.
Do not use pliers, a wrench, or extra leverage to force a valve that will not move normally.
Older shutoff valves can become stiff or corroded. Applying more force can damage the valve or create a leak.
If the valve will not turn, see Water Shut-Off Valve Won’t Turn: What Homeowners Should Know rather than forcing it.
Stop immediately if the valve begins leaking while you operate it.
Step 3: Open the Outdoor Faucet
After closing the correct indoor shutoff, open the outdoor faucet to allow available trapped water to drain from the isolated section.
The amount of water released will depend on the plumbing configuration.
Give it time to drain rather than repeatedly opening and closing the faucet.
Step 4: Check for a Bleeder or Drain Cap
Some indoor shutoff valves have a small bleeder or drain cap intended to help remove trapped water from the isolated line.
If your existing valve clearly has this feature and you understand how it is intended to operate, it may be part of the normal winterizing process.
Keep this conservative.
Do not aggressively loosen a corroded cap or begin dismantling the valve. If the bleeder leaks, appears damaged, or its purpose is uncertain, stop rather than forcing it.
Step 5: Leave the System in the Appropriate Winter Configuration
There is no universal rule that every outdoor faucet should remain open all winter.
The correct configuration depends on the faucet design, indoor shutoff arrangement, manufacturer guidance, and local plumbing setup.
The important objective is to remove trapped water where the system is designed to be drained and avoid leaving an intentionally isolated outdoor line unnecessarily pressurized.
If you are uncertain about the intended configuration of a particular frost-free faucet or winter shutoff arrangement, identify the equipment before choosing how to leave it for the season.
Frost-Free Faucets Still Need Winter Preparation
A frost-free faucet moves its actual shutoff point farther inside the building. That helps protect the water-containing portion from exterior cold.
However, the faucet needs to drain correctly.
A hose, splitter, timer, or other attachment left connected can interfere with that drainage and leave water trapped where it can freeze.
Proper installation matters as well. A frost-free faucet is generally intended to allow water in its outer section to drain toward the exterior after shutoff. If installation or drainage is incorrect, the freeze-resistant design may not work as intended.
Indoor temperature also matters. Plumbing extending into an unusually cold wall cavity, garage, crawl space, or other poorly protected area may still be vulnerable.
Treat a frost-free faucet as added protection, not a guarantee against freezing.
When an Insulated Faucet Cover Helps
An insulated outdoor faucet cover can add protection from cold air around an exposed faucet.
Install one after hoses and other attachments have been removed and after any required draining has been completed.
A cover is supplementary protection. It does not replace:
- Removing hoses
- Draining a line designed to be drained
- A working indoor shutoff where one is part of the system
- Correct frost-free faucet installation
- Protection for exposed indoor piping
A cover also cannot repair a faucet that is already leaking or damaged.
If the faucet is dripping before freezing weather, address the underlying problem rather than hiding it beneath a cover.
Check Nearby Exposed Pipes
The outdoor faucet is only one part of the water line.
Look at accessible piping leading toward exterior walls, especially in garages, basements, crawl spaces, and other areas that may become unusually cold.
Exposed water lines in these areas may benefit from appropriate insulation when they are vulnerable to freezing. Pipe Insulation to Prevent Freezing: What Homeowners Should Know covers that topic in more detail.
Insulation does not generate heat or guarantee that a pipe cannot freeze. Cold-air exposure and the temperature of the surrounding space still matter.
Do not cover active leaks or damaged piping with insulation.
What if the Outdoor Faucet Keeps Dripping?
A faucet that continues dripping before freezing weather deserves attention.
Possible causes include a faucet that is not sealing fully, an indoor shutoff that does not close completely, worn internal components, or existing damage.
Do not assume a faucet cover will solve the problem.
Persistent dripping can leave water where you are trying to keep the plumbing drained. It can also make it harder to determine whether the winter shutoff is actually isolating the outdoor line.
Avoid overtightening the faucet handle in an attempt to force the drip to stop.
If the faucet or shutoff cannot isolate water normally, have the problem diagnosed before severe freezing weather when possible.
Watch for Signs of Existing Freeze Damage
A faucet or pipe that has already frozen may not begin leaking while it is still frozen.
Water can appear as temperatures rise and the ice thaws.
Warning signs include:
- A cracked faucet body
- A visibly split pipe
- Bulging or distorted piping
- Water stains on an interior wall or ceiling
- Moisture near the pipe’s path inside the home
- A faucet that leaks after thawing
- No water followed by sudden leakage as temperatures rise
If a pipe is cracked or bulging, do not restore water merely to see whether it leaks.
Likewise, if water begins appearing inside a wall, basement, crawl space, or ceiling below, stop and control the water supply if you can do so safely.
Keep away from leaking water that is near electrical equipment, outlets, wiring, fixtures, or panels.
Restart the Outdoor Faucet Carefully in Spring
When freezing conditions have passed, and you are ready to return an isolated outdoor faucet to service, inspect the accessible plumbing first.
If an indoor shutoff was closed for winter, restore water slowly rather than opening it abruptly.
Watch the outdoor faucet as water returns. At the same time, inspect accessible interior areas along the pipe route for dripping or unexpected moisture.
A freeze-damaged pipe may reveal itself only after pressure is restored.
Stop immediately if you find water inside the wall area, basement, crawl space, cabinet, or ceiling below the faucet.
Do not leave the water on while trying to determine where a significant leak is coming from.
When to Call a Plumber
Get qualified plumbing help if an indoor shutoff valve leaks, will not operate normally, or is heavily corroded.
Professional service is also appropriate if the outdoor faucet will not stop dripping, the plumbing configuration is unclear, or you cannot safely isolate a vulnerable exterior line.
Stop DIY work if you find a cracked faucet, split or bulging pipe, or water leaking inside the home. Suspected freeze damage can begin leaking rapidly once the pipe thaws or water pressure is restored.
Final Thoughts
Knowing how to winterize outdoor faucet plumbing safely starts with a simple priority: disconnect every hose and accessory before freezing weather. If the faucet has a dedicated indoor shutoff, close it gently and drain the outdoor line according to the system’s design, then add an insulated faucet cover where it provides useful extra protection.
Do not force stuck valves or assume a frost-free faucet cannot freeze. If a valve leaks, the faucet continues dripping, piping appears cracked or bulged, or water shows up inside the home, stop and address the underlying plumbing problem rather than relying on additional insulation or a faucet cover.