
how to fix uneven patio pavers without rebuilding the whole patio
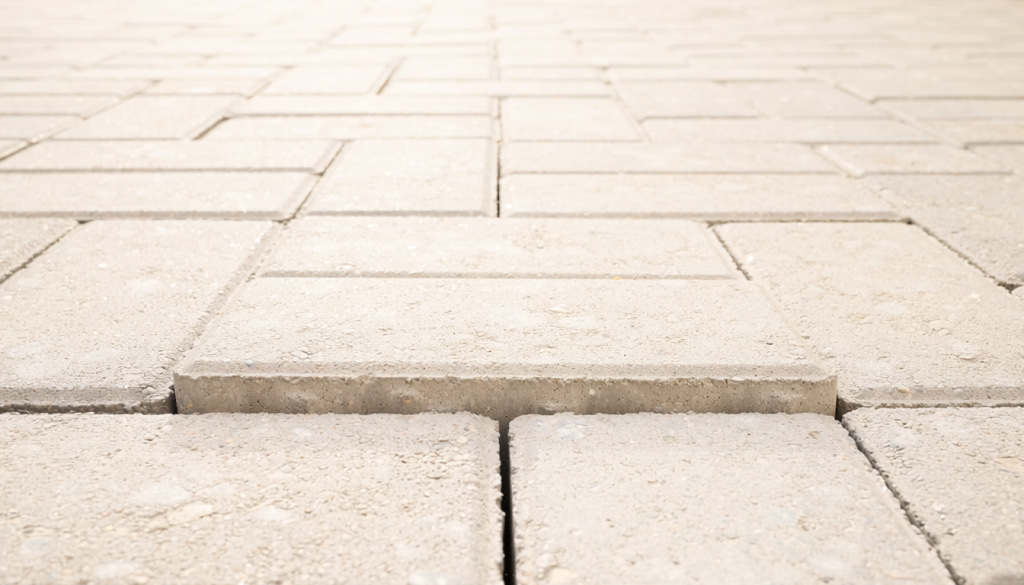
Uneven patio pavers can often be corrected without rebuilding the whole patio when the problem is limited to one or a few accessible units. The repair usually involves lifting the affected pavers, correcting the bedding material, and resetting them to match the surrounding surface.
First, identify why the pavers moved. Widespread settlement, large roots, recurring standing water, a soft base, or drainage toward the house requires professional evaluation rather than a localized reset.
| Paver condition | Likely cause | First response |
|---|---|---|
| One paver has settled | Bedding loss or localized compaction | Lift it and inspect beneath it |
| One edge is raised | Root, debris, frost movement, or excess bedding | Lift it and identify the cause |
| Several nearby pavers are uneven | Base settlement, erosion, or drainage trouble | Inspect the entire affected area |
| Pavers move underfoot | Loose joints or poor support | Check the bedding and base |
| Joint sand has washed out | Water, weather, or insect activity | Find the source and refill the joints |
| Tree roots are lifting the surface | Root growth beneath the patio | Do not cut large roots |
| Water collects in the low area | Settlement or poor drainage | Check where the water flows |
Why Patio Pavers Become Uneven
Bedding sand can settle or wash away, especially when water repeatedly enters one area. Uneven base compaction, nearby soil erosion, heavy planters, furniture, or concentrated foot traffic can also cause localized sinking.
Freeze-thaw cycles may lift or shift pavers. Tree roots can raise the surface, while loose edge restraints allow perimeter units to spread or tilt. Ants and other insects may disturb joint and bedding material.
One or two uneven pavers may be suitable for a localized repair. Movement across a larger area usually points to a base, drainage, or edge-restraint problem.
Inspect the Area Before Lifting Pavers
Count how many pavers are affected and note whether they are high, low, tilted, or moving. Check for cracked units, missing joint sand, standing water, loose edge restraints, nearby roots, and erosion along the patio edge.
Observe whether water collects in the area or moves toward the house. Repeated movement after an earlier repair suggests the underlying cause has not been corrected.
Seek professional evaluation for widespread settlement, major drainage trouble, large roots, movement near the house, or possible buried utilities.
Decide Whether a Localized Repair Is Appropriate
A small reset may be reasonable when:
- Only one or a few pavers are affected.
- The surrounding patio remains stable.
- The pavers are easy to access.
- No large roots or utilities are involved.
- The base appears firm.
- The repair will preserve drainage and nearby clearances.
Seek help when:
- A large area is uneven or keeps moving.
- Water flows toward the house.
- Large roots are lifting the surface.
- Edge restraints have failed across a long section.
- Pavers sink deeply or move underfoot.
- The base is soft or washed out.
Tools and Materials for a Small Paver Reset
Basic supplies include:
- Eye protection and work gloves
- A paver-removal tool or two sturdy flat tools
- A rubber mallet
- A straight board or level
- A hand tamper
- Compatible bedding sand
- A broom and compatible joint sand
Match replacement sand to the existing installation and manufacturer requirements. Do not use topsoil, mulch, pea gravel, or loose decorative stone beneath pavers.
How to Fix One or Two Uneven Patio Pavers
Localized reset sequence
- Mark the affected pavers and note their orientation.
- Remove loose joint sand around the edges.
- Lift each paver without damaging nearby units.
- Inspect the bedding layer and base.
- Remove loose, dirty, or washed-out bedding.
- Add a small amount of compatible bedding sand.
- Screed it to match the existing drainage direction.
- Reset the paver in its original orientation.
- Tap it gently with a rubber mallet.
- Check its height with a straight board.
- Lift and readjust instead of forcing it lower.
- Refill the joints with compatible joint sand.
- Compact the repaired area by hand when appropriate.
- Sweep away excess and follow the sand instructions.
Make small adjustments. Too much bedding sand can leave the paver high or unstable. The goal is firm support that matches the surrounding patio, not a universal bedding depth.
Keep the Existing Drainage Slope
The repaired paver should follow the same plane as neighboring units. Do not make it perfectly level if the patio intentionally slopes to move water away from the house.
Do not raise pavers above door thresholds, adjacent surfaces, or siding clearances. Stop when the existing slope is unclear or appears to direct water toward the house.
Recurring puddles, erosion, or runoff toward the house should be evaluated as patio drainage problems before resetting the surface.
High and Settled Pavers
When a paver is too high
Lifted pavers may result from roots, trapped debris, frost movement, or excess bedding. Lift the paver and remove only loose debris or unnecessary bedding material.
Do not cut large roots, strike the paver with heavy blows, or grind away excessive thickness. Repeated lifting or large roots requires professional evaluation.
When a paver has settled
Remove the low paver and inspect beneath it. Replace missing bedding with a compatible material, compact a firm localized area by hand when appropriate, and reset the paver gradually.
Do not pour sand into the joints and expect it to raise the paver. Deep settlement or a soft, washed-out base indicates a larger problem.
Refill the Paver Joints
Joint sand helps stabilize the surface. Match the existing joint material when possible and avoid mixing incompatible products.
Polymeric sand requires clean, dry pavers and careful application. Keep it off paver faces and follow the product’s watering and curing directions.
Before replacing the joint material, compare polymeric sand vs regular sand for pavers and confirm which type matches the existing installation.
When a Cracked Paver Should Be Replaced
Replace a paver when a crack extends through it, corners are broken, the surface is spalling, or the unit rocks after resetting. Replacement is also appropriate when its shape no longer matches nearby pavers or it has repeated impact damage.
The new paver should closely match the original size and thickness. Replacing one unit will not correct a failed base.
Uneven Patio Paver Repair Guide
| Condition | Limited homeowner response | Rebuild or seek help |
|---|---|---|
| One settled paver | Lift, add compatible bedding, and reset | Base is soft or settlement is deep |
| One raised edge | Remove loose debris or excess bedding | Large root or repeated lifting |
| Two or three uneven pavers | Inspect and reset the small group | Movement extends farther |
| Washed-out joint sand | Correct minor runoff and refill joints | Sand repeatedly washes out |
| Loose edge restraint | Inspect a short accessible section | A long section has failed |
| Large root lifting pavers | Leave the root intact | Seek tree and hardscape guidance |
| Standing water | Preserve the existing drainage path | Water returns or moves toward the house |
| Widespread settlement | No localized repair | Base work or rebuilding is needed |
| Movement near the house | Stop before changing elevations | Seek drainage and hardscape evaluation |
Common Repair Mistakes
Avoid these errors:
- Adding sand on top of a low paver
- Using topsoil beneath pavers
- Adding too much bedding sand
- Removing the patio’s drainage slope
- Striking pavers with a steel hammer
- Reusing contaminated bedding material
- Cutting large roots or ignoring washed-out joints
- Raising pavers above a doorway
- Repairing widespread settlement one unit at a time
When to Contact a Professional
Contact a qualified professional when a large area has settled, repaired pavers keep moving, standing water returns, or runoff travels toward the house.
Stop when you find soft or washed-out base material, large roots, failed edge restraints across a long section, movement near steps, walls, or doorways, or possible buried utilities. Major grading, drainage correction, root management, and full or partial patio rebuilding are outside the scope of a small reset.
Final Thoughts
One or a few uneven pavers may sometimes be reset without rebuilding the patio. Use compatible bedding and joint materials, match the surrounding surface, and preserve the existing drainage direction.
Do not hide a failing base with extra sand. Widespread movement, recurring settlement, large roots, or drainage toward the house requires professional evaluation.