
How to spackle nail holes before painting
Learning how to spackle nail holes is a straightforward way to prepare painted drywall before repainting. For most ordinary nail holes and small picture-hanger holes, use a small amount of lightweight spackle or another appropriate patching compound. Clean the hole, fill it, remove the excess, let it dry according to the label, sand lightly if needed, remove the dust, prime the repair, and paint.
| Hole type | Typical repair approach | Material | Main caution |
|---|---|---|---|
| Tiny nail hole | Fill flush with a small amount | Lightweight spackle | Do not create a mound |
| Picture-hanger hole | Remove loose material, then fill | Lightweight spackle | Check for raised edges |
| Small screw hole | Fill the depression completely | Spackle or appropriate patching compound | May need more than a surface skim |
| Slightly deeper hole | Fill according to product directions | Suitable patching compound | Avoid an excessively thick application |
| Damaged paper or larger defect | Assess before patching | Depends on damage | May need more than spackle |
Before sanding or scraping around an existing painted surface, consider the age of the home. If lead-based paint may be present, especially in a pre-1978 home, do not use ordinary uncontrolled sanding or scraping methods on the suspect coating. Determine an appropriate lead-safe approach before disturbing it.
What Should You Use to Fill Nail Holes?
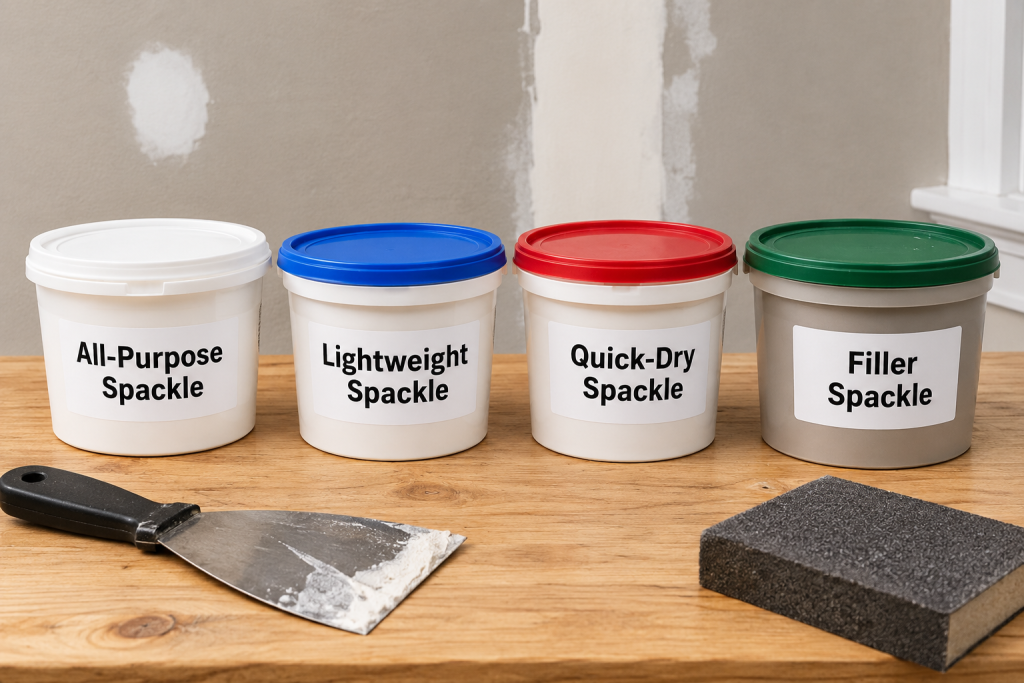
Lightweight spackle is often a practical material for ordinary nail holes and small picture-hanger holes in drywall. It is easy to apply in small amounts and is intended for minor surface repairs.
Some small screw holes or deeper defects may call for a vinyl spackle or another patching compound suitable for the size and depth of the repair. Follow the product directions rather than assuming every filler can be applied at any thickness.
For a detailed look at when different wall-repair materials make sense, see Spackle vs Joint Compound for Wall Repairs.
The key is matching the material to the defect without making a simple nail-hole repair more complicated than necessary. If the hole is small and the surrounding drywall is solid and undamaged, a small application of spackle is usually all that is needed.
How to Spackle Nail Holes Before Painting
For small holes, the goal is to fill the depression while leaving as little excess material on the wall as possible. A small putty knife gives you more control than spreading a wide patch around a tiny hole.
Step 1: Inspect and clean the hole
Look closely at the hole before applying anything. Remove loose drywall material, dust, or raised debris that would prevent the spackle from sitting cleanly in the opening.
For a picture-hanger hole, check whether pulling out the hanger lifted a small edge of paint or drywall paper. Do not aggressively scrape sound surrounding paint simply to make the repair area larger.
The surface should be clean enough for the patching material to make proper contact. Follow the spackle manufacturer’s preparation instructions if the product calls for anything more specific.
Step 2: Apply a small amount of spackle
Pick up a small amount of spackle with the edge of a putty knife or another applicator suitable for the product.
Press the material into the hole rather than merely coating the surface over it. Work from more than one direction if necessary to fill the small depression.
For an ordinary nail hole, very little material is usually needed. Start with less than you think you need. You can add a little more if the hole is not filled.
Avoid spreading a wide layer of spackle around a tiny defect. The surrounding painted drywall generally does not need to be covered.
Step 3: Scrape away excess
Once the hole is filled, draw the putty knife across the repair to remove excess spackle.
Try to leave the filled area close to flush with the wall. You do not need to create a large mound to make sure the hole stays filled.
This is one of the easiest ways to reduce work later. Excess spackle does not make a small repair stronger simply because there is more of it on the wall. Instead, it creates a larger area that may need to be sanded and blended before painting.
Check the spot from more than one angle. If the hole is filled and the surrounding surface is reasonably clean, resist the temptation to keep adding material.
Step 4: Let the spackle dry
Allow the repair to dry according to the product label before sanding, priming, or painting.
Do not rely on one universal drying time. Drying can depend on the patching material, application thickness, temperature, humidity, and other conditions specified by the manufacturer.
A thicker application may also take longer than a very thin repair, which is another reason not to pile unnecessary material over a small nail hole.
For more detailed drying guidance, see How Long Does Spackle Take to Dry Before Painting?.
If the repair shrinks or remains visibly recessed after drying, follow the product directions for another application rather than trying to hide the depression with primer or paint.
Step 5: Sand lightly if necessary
A carefully applied nail-hole repair may need very little sanding. Run your hand lightly over the dry repair and look across the wall under good lighting.
If you can feel or see a raised edge, sand only enough to make the repair flush with the surrounding surface. Use light pressure and check your progress frequently.
Avoid aggressive sanding. The objective is to smooth the patch, not remove large amounts of material or sand through the drywall’s paper face.
If sanding would also disturb older surrounding paint that could contain lead, stop and use an appropriate lead-safe approach rather than treating it as ordinary drywall dust.
Step 6: Remove sanding dust
Remove residual patching dust before applying primer. Dust left on the repair can interfere with the clean surface you want for the next coating.
Use a cleanup method appropriate for the patching material and surrounding finish. Avoid soaking unfinished patching material or drywall paper with water unless the product instructions specifically support that method.
Keep dust from spreading unnecessarily through the room, and follow the patching product’s instructions for cleanup and personal protection.
Step 7: Prime the repair
Once the patch is dry, smooth, and clean, apply an appropriate primer to the repaired area before painting.
Fresh patching material can absorb paint differently from an already painted wall. Spot priming helps seal the repair and creates a more consistent surface for the finish coat.
Skipping primer can leave the repaired area looking different from the surrounding wall even when the hole itself has disappeared. This uneven appearance is often called flashing.
Follow the primer instructions for application, ventilation, drying, and recoating. Make sure it is compatible with the patching material and the paint you plan to use.
Step 8: Paint the repaired area
After the primer is ready for recoating, apply the finish paint.
Use an application method appropriate for the size of the area and the existing wall texture. A repair that is physically smooth can still stand out if the new paint has a noticeably different texture or sheen from the surrounding finish.
For the least visible result, use matching paint whenever possible and blend the repaired area without unnecessarily building up a heavy layer.
Allow the paint to dry and evaluate the spot under normal room lighting.
Avoid Overfilling Small Nail Holes
Using too much spackle is one of the most common ways to turn a tiny repair into a larger job.
A nail hole is a depression that needs to be filled. It does not usually require a wide patch of compound extending several inches across otherwise sound drywall.
Excess material can:
- Increase the amount of sanding required
- Make it harder to keep the repair flush
- Leave visible edges around the patch
- Take longer to dry when applied too thickly
- Increase the chance of sanding the surrounding finish unnecessarily
Apply enough material to fill the defect, then scrape away what the wall does not need.
This becomes especially important when filling several nail holes before repainting a room. Ten small, tidy repairs are much easier to prepare than ten oversized patches created by unnecessary spackle.
Common Nail-Hole Repair Mistakes
Small drywall repairs are forgiving, but a few mistakes can make them much more visible after painting.
Applying spackle over loose material: Dust, flakes, or damaged edges can prevent you from producing a clean repair. Inspect and clean the hole first.
Using too much spackle: More material creates more finishing work. Fill the hole rather than covering a large area around it.
Sanding too aggressively: Heavy pressure can create a depression, expose drywall paper, or unnecessarily disturb the surrounding paint.
Rushing the drying stage: A repair that appears dry at the surface may not necessarily be ready for the next step. Follow the product label.
Leaving sanding dust behind: Primer should go over a properly prepared surface, not a layer of loose dust.
Skipping primer: Fresh patching material can absorb finish paint differently from the existing painted surface, making the repair more noticeable.
Expecting paint to hide an uneven patch: Paint adds color and finish; it does not correct a raised ridge or recessed repair. Get the patch smooth before priming.
When Spackle Is Not Enough
This method is intended for ordinary nail holes, picture-hanger holes, and similarly small defects in otherwise sound drywall.
A different repair may be necessary if you find:
- A larger hole that needs backing or a drywall patch
- Badly torn or delaminated drywall paper
- A crack that returns after previous repairs
- Loose or moving drywall
- Moisture staining, softness, or other signs of water damage
- A defect too large or deep for the patching product’s intended use
Do not keep adding spackle when the underlying drywall needs another type of repair. If moisture caused the damage, identify and correct the moisture source before treating the surface as a cosmetic paint-preparation problem.
Final Thoughts
Knowing how to spackle nail holes is mostly about using restraint. Clean the defect, press in only enough material to fill it, scrape the surface close to flush, and let the repair dry according to the product instructions.
Sand only if necessary, remove the dust, and prime before applying the finish paint. A carefully filled nail hole should require very little sanding or correction—the less excess material you leave behind, the easier it is to make the finished repair disappear.