How Long should spackle dry before painting?
How long should spackle dry before painting depends on the product, the depth of the patch, and the room conditions, but most small spackle repairs need at least 1 to 2 hours before sanding or painting.
That is only a starting point. A thin nail-hole repair with lightweight spackle may dry quickly. A deeper dent, corner chip, or layered repair may need several hours or even overnight before it is ready for primer and paint.
The most important rule is simple: do not paint just because the surface feels dry. Dry-to-the-touch is not always the same as ready-to-sand, ready-to-prime, or ready-to-paint. Spackle can form a dry skin on the outside while still holding moisture underneath.
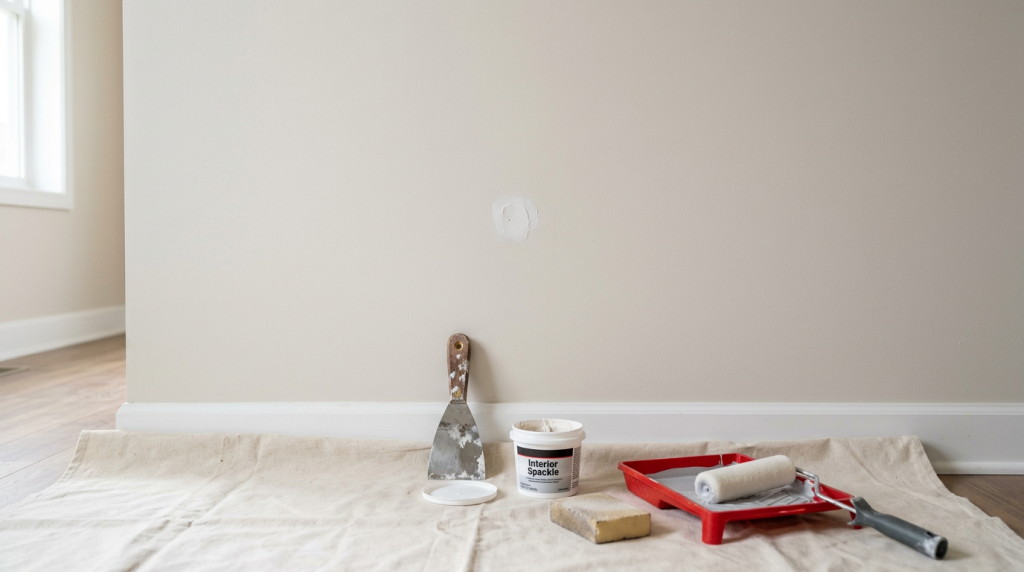
For the best result, let the patch dry fully, sand it smooth, wipe away dust with a clean microfiber cloth, prime if needed, and then paint.
How Long Should Spackle Dry Before Painting?
For small wall repairs, spackle usually needs about 1 to 2 hours of drying time before painting. Fast-drying or lightweight spackle may be ready sooner for very shallow nail holes. Standard spackle, deeper repairs, or thicker patches often need 4 hours or longer.
Always check the manufacturer’s label on the container. Drying times vary by product, and the label is the best starting point for that specific spackle.
| Repair Type | Typical Dry Time | Ready for Paint? | Notes |
|---|---|---|---|
| Tiny nail hole | 30 minutes to 2 hours | Often same day | Lightweight spackle dries fastest |
| Small dent or scrape | 1 to 4 hours | Usually same day | Sand smooth before painting |
| Deeper gouge | 4 hours to overnight | Often next day | May need more than one coat |
| Large or thick patch | Overnight or longer | Wait until fully firm | Drying depends heavily on depth |
These times are general guidelines, not guarantees. A patch in a cool, humid room can take much longer than the same patch in a warm, dry room with good airflow.
Why Spackle Drying Time Varies
Spackle dries as moisture leaves the patch. Anything that affects that moisture will affect how long the repair takes to dry.
The biggest factors are:
- Product type
- Patch depth
- Amount of spackle applied
- Room temperature
- Humidity level
- Air circulation
- Wall surface condition
- Manufacturer’s drying instructions
Lightweight spackle is often designed for quick, small repairs. It works well for nail holes, pin holes, small dents, and shallow surface damage.
Standard spackle is usually better for slightly larger repairs, but it may take longer to dry. If the patch is deep, the surface can look ready while the center is still soft.
Patch depth matters more than many homeowners expect. A thin skim of spackle dries much faster than a thick blob pressed into a deep hole.
Temperature also matters. Spackle dries better in a comfortable room temperature range. Cold rooms slow the process down. High humidity also slows drying because moisture cannot leave the patch as easily.
Good airflow helps, but harsh heat is not the answer. You want steady drying, not forced drying that cracks the repair or dries only the surface.
If you are filling small nail holes before painting, choosing the best spackle for nail holes can make the repair easier to sand, prime, and paint.
Dry-to-the-Touch Is Not Always Ready-to-Paint
One of the most common mistakes is touching the patch, feeling that the surface is dry, and painting right away.
That can cause problems because the top layer may dry before the spackle underneath. If you paint too soon, you may trap moisture under primer or paint. The repair can then shrink, crack, bubble, or show through the finish.
A patch can go through several stages:
| Stage | What It Means | What To Do |
|---|---|---|
| Dry-to-the-touch | Surface no longer feels wet | Wait longer for thicker patches |
| Ready-to-sand | Patch feels firm all the way through | Sand lightly and check smoothness |
| Ready-to-prime | Dust is removed and patch is smooth | Apply primer if needed |
| Ready-to-paint | Primer is dry or patch is paint-ready | Paint with a brush or mini roller |
For the cleanest repair, think in steps. First let the spackle dry. Then sand. Then wipe. Then prime if needed. Then paint.
How to Tell If Spackle Is Dry Enough to Sand
Sanding too early can ruin the patch. Soft spackle will smear, clog the sanding sponge, or pull out of the hole.
Wait until the patch feels firm and stable before sanding. A sanding sponge is useful because it gives you more control than loose sandpaper, especially on small wall repairs.
Signs the spackle is ready to sand:
- The patch color has lightened evenly
- The surface feels firm, not cool or damp
- The patch does not dent easily with light pressure
- The edges are not gummy or soft
- A sanding sponge creates fine dust instead of smearing
- The repair stays in place when lightly sanded
Use light pressure when sanding. The goal is to smooth the patch flush with the wall, not dig into it.
After sanding, wipe the area with a clean microfiber cloth. Dust left on the wall can keep primer or paint from bonding properly.
After the spackle is firm and dust-free, use this guide on how many coats of primer over spackle to decide whether one thin coat is enough or whether the patch needs a second coat.
How to Tell If Spackle Is Ready for Primer
Primer is not always required for every tiny touch-up, but it is often a good idea. Spackle is more porous than painted drywall, so it can absorb paint differently from the surrounding wall.
This is why some patches show up as dull spots, shiny spots, or slightly different colors after painting. Primer helps seal the repair so the topcoat looks more even.
Spackle is ready for primer when:
- The patch is fully dry and firm
- The surface has been sanded smooth
- The repair feels level with the wall
- All sanding dust has been wiped away
- There are no soft, sunken, or cracked spots
- The edges blend smoothly into the painted surface
For small repairs, a touch-up brush works well for primer. For several patches or a larger repair area, a mini roller can help match the surrounding wall texture better than a brush alone.
Let the primer dry according to the label before painting. Just like spackle, primer needs enough time to dry before the next coat.
When Primer Is Needed Before Painting Over Spackle
Primer is usually worth using when the patch is larger than a tiny nail hole or when the wall finish needs to look even.
Skipping primer can work on very small holes, especially if you are using the exact same wall paint and the surrounding finish is forgiving. But for most visible repairs, primer gives you a better chance of hiding the patch.
Use primer before painting over spackle when:
- The patch is larger than a small nail hole
- The repair is in a noticeable area
- The wall has a sheen, such as eggshell, satin, or semi-gloss
- The paint color is dark, bright, or hard to match
- The spackle feels porous after sanding
- You are painting over several repaired spots
- The wall has never been painted before
- You want the smoothest, most even finish
Primer also helps prevent flashing. Flashing is when the repaired spot reflects light differently from the rest of the wall.
For small repairs, apply primer only over the patch and slightly beyond the edges. For larger repairs, feather the primer outward so there is not a hard outline.
The Right Order: Spackle, Sand, Prime, Paint
A good wall repair is mostly about patience and order. Painting is the final step, not the fix for an uneven patch.
Start with the right amount of spackle. A flexible putty knife makes it easier to press spackle into the damaged area and scrape away the excess. Leaving too much material on the wall creates more sanding work and increases drying time.
Follow this basic order:
- Clean loose dust or debris from the damaged spot
- Apply spackle with a putty knife
- Scrape off excess so the patch is slightly smooth and level
- Let the spackle dry fully
- Sand lightly with a sanding sponge
- Wipe dust away with a clean microfiber cloth
- Apply primer if needed
- Let the primer dry
- Paint the repair area
- Blend the paint into the surrounding wall
For small touch-ups, a touch-up brush can work. For a more blended finish, especially on lightly textured walls, a mini roller often gives a better result.
Do not overload the brush or roller with paint. Thin, even coats usually look better than one heavy coat.
How to Speed Up Spackle Drying Safely
You can help spackle dry faster, but the goal is gentle drying. High heat directly on the patch can cause cracking, shrinking, or uneven drying.
Do not hold a heat gun or hot hair dryer close to the repair. That can dry the surface too quickly while the inside remains damp.
Safer ways to help spackle dry include:
- Use lightweight spackle for shallow repairs
- Apply thinner layers instead of one thick patch
- Keep the room at a comfortable temperature
- Improve airflow with a fan aimed across the room
- Lower humidity with a dehumidifier if the room is damp
- Leave doors open to improve air movement
- Wait longer for deep patches instead of forcing them
If the damage is deep, build the repair in layers. Let each layer dry before adding the next one. This takes longer upfront, but it usually creates a stronger and smoother patch.
Thin layers also reduce the chance of cracking or sinking.
What Happens If You Paint Spackle Too Soon?
Painting too soon can make a simple repair more noticeable. The paint may look fine at first and then reveal problems as the patch continues drying under the surface.
Common problems from painting too soon include:
- Paint bubbling over the patch
- A soft or gummy repair underneath
- Cracks forming after the paint dries
- A sunken spot where the spackle shrinks
- Uneven sheen compared with the surrounding wall
- Poor paint adhesion
- Visible patch outlines
- Sanding dust trapped under paint
If you painted too soon and the patch still looks bad after the paint dries, you may need to sand the area, reapply spackle, let it dry fully, prime, and repaint.
It is frustrating, but it is usually fixable.
Common Mistakes Homeowners Make With Spackle Drying Time
Most spackle problems come from rushing, applying too much material, or skipping surface prep.
Avoid these common mistakes:
- Painting as soon as the patch feels dry on the surface
- Applying spackle too thickly in one pass
- Ignoring the drying time on the product label
- Sanding while the patch is still soft
- Skipping primer on visible repairs
- Painting over sanding dust
- Using a large brush that leaves obvious marks
- Trying to force drying with high heat
- Using the wrong spackle for the repair size
- Forgetting that humidity slows drying
Another mistake is using too much paint over the repair. Heavy paint can create a raised spot or different texture. A light coat with a touch-up brush or mini roller is usually easier to blend.
When to Use Lightweight Spackle
Lightweight spackle is a good choice for many beginner-friendly wall repairs. It is especially useful for small holes and shallow dents because it is easy to apply, easy to sand, and often dries faster than heavier patching compounds.
Lightweight spackle is useful for:
- Nail holes
- Picture hanger holes
- Small dents
- Minor surface scratches
- Shallow drywall dings
- Quick paint touch-ups
Lightweight spackle is not the best choice for every repair. Deep holes, wide cracks, damaged drywall corners, or areas that move may need a stronger repair method.
For basic paint touch-ups in finished rooms, though, lightweight spackle is often the easiest option.
When to Redo the Patch
Sometimes a patch does not dry or finish correctly. Do not try to hide a bad patch with more paint. Paint usually makes uneven repairs more obvious, not less obvious.
If the spackle is soft, cracked, sunken, or uneven, fix the patch before painting.
Redo the patch if:
- The spackle stays soft after the expected drying time
- The patch cracks before painting
- The repair sinks below the wall surface
- The patch feels loose or crumbly
- The surface looks lumpy after sanding
- The edges are raised and visible
- The paint makes the patch stand out more
- The damaged area is deeper than the spackle can handle
To redo a small patch, scrape away loose or soft material with a putty knife. Sand the edges lightly, wipe the area clean with a microfiber cloth, and apply a thinner layer of spackle.
For deeper repairs, use more than one layer. Let each layer dry before adding the next.
Painting Over Spackle Without Making the Patch Stand Out
The final paint step matters. Even a smooth patch can show if the paint is applied differently from the surrounding wall.
Use the same paint color and sheen that is already on the wall whenever possible. If the old paint has faded, the touch-up may still be slightly visible.
For small areas, dab or feather the paint lightly instead of creating a thick, obvious spot. For larger areas, a mini roller can help match the surrounding roller texture.
To help the patch blend in:
- Prime the spackled area when needed
- Let the primer dry fully
- Use the same paint sheen as the wall
- Apply thin coats instead of one heavy coat
- Feather the paint beyond the patch
- Use a mini roller on rolled walls
- Use a touch-up brush for very small spots
- Let the first coat dry before deciding if a second coat is needed
If the wall has strong natural light, check the repair from more than one angle. A patch that looks hidden straight on may still show from the side if it was not sanded or primed well.
Final Thoughts
For most small repairs, the answer to how long should spackle dry before painting is at least 1 to 2 hours, but deeper patches often need several hours or overnight.
The safest approach is to follow the product label, consider the depth of the repair, and check that the spackle is firm all the way through before sanding, priming, or painting.
Do not rely on dry-to-the-touch alone. A good patch should feel firm, sand cleanly, wipe smooth, and accept primer or paint without soft spots, cracks, or visible edges.
A little patience before painting usually saves you from having to redo the repair later.