
How to remove mold from a shower safely – and when to stop
How to remove mold from shower surfaces safely starts with checking that the affected area is small, accessible, and limited to sound, cleanable material. Use a compatible cleaner, remove residue as directed, dry thoroughly, and monitor for recurrence.
Stop if growth is widespread or hidden, materials are damaged, or contaminated water is involved. People with asthma, COPD, immune suppression, underlying lung disease, or mold allergies should not perform mold cleanup. Seek medical guidance about other health concerns before starting.
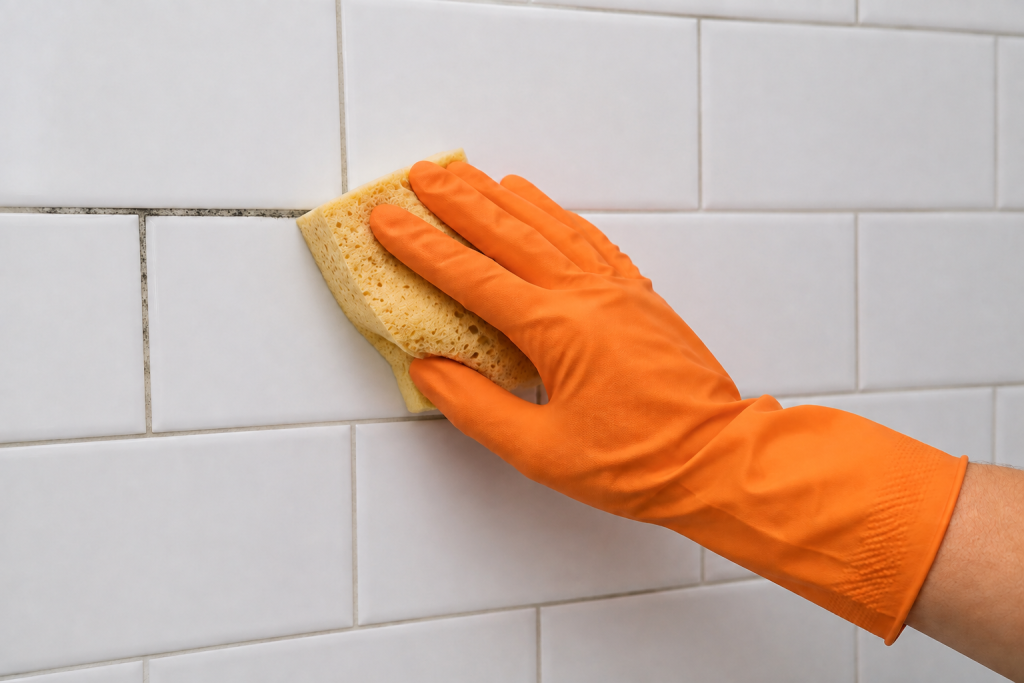
Decide Whether This Is a Homeowner Cleanup
A limited patch on accessible, sound tile or another cleanable shower surface may be reasonable for a homeowner to address. The important word is limited.
A commonly used reference point is about 10 square feet, roughly a 3-by-3-foot area. That is a general cleanup threshold, not automatic permission to tackle anything smaller. A much smaller area can still require professional help if it involves hidden growth, damaged materials, contaminated water, difficult access, or health concerns.
Do not climb, dismantle the enclosure, or enter an unsafe position to measure a questionable area.
Stop before cleaning if you find:
- Growth spreading beyond the visible shower surface.
- Repeated growth that quickly returns after cleaning and drying.
- A moldy odor with no obvious accessible source.
- Soft, swollen, loose, crumbling, or significantly water-damaged material.
- Loose tile or deteriorating wall or floor surfaces.
- A substantial plumbing leak or persistent unexplained dampness.
- Damage caused by sewage, floodwater, or other contaminated water.
- An area that cannot be reached from stable footing.
- Health circumstances that make mold exposure or cleanup chemicals inappropriate.
Cleaning visible material will not correct a concealed leak or damaged shower assembly.
Identify the Surface Before You Clean It
Shower materials can look similar while responding very differently to cleaners and scrubbing.
| Surface | Main cleaning consideration |
|---|---|
| Glazed ceramic or porcelain tile | Usually cleanable, but protect the glaze and nearby finishes |
| Natural stone | Cleaner chemistry must be compatible with the specific stone and sealer |
| Cement grout | Porous and may be sealed, stained, or physically deteriorated |
| Epoxy or premixed grout | Care depends on the particular formulation |
| Flexible sealant | Surface residue may clean; embedded discoloration may remain |
| Shower base | Acrylic, fiberglass, enamel, stone, and composite bases have different restrictions |
Do not identify mold species from color. A black, pink, brown, gray, or other dark mark can be growth, staining, soap residue, mineral deposits, or discoloration in the material itself.
Appearance after cleaning also has limits. Mold can leave cosmetic staining, and a dark mark that remains does not prove that active growth is still present. Conversely, making a stain disappear does not prove that an underlying moisture problem has been corrected.
Flexible sealant deserves particular restraint. Discoloration can become embedded in or beneath aging sealant, where surface cleaning may have little effect. If the joint is cracked, loose, separated, or deteriorated, harder scrubbing is not the solution. Replacement is a separate repair.
Likewise, grout that is crumbling, missing, or physically eroding needs assessment rather than progressively stronger cleaning. Grout and caulk are finish components and do not replace the shower’s waterproofing system.
For routine buildup in otherwise sound grout, our guide on how to clean shower grout explains material-compatible cleaning methods.
Gather Compatible Supplies and Protection
For a small, appropriate cleanup, you may need:
- A cleaner or detergent approved for the affected shower material.
- Soft disposable cloths or a compatible nonabrasive sponge.
- A nylon brush only when the surface and cleaner instructions permit it.
- Clean water for residue removal when required.
- Protective gloves suitable for the cleaner.
- Goggles that protect the eyes from particles and splashes.
- A NIOSH-approved N95 respirator for reducing exposure to airborne mold particles.
- Towels or other materials needed to control runoff without creating a slipping hazard.
An N95 is a particle respirator. It can reduce inhalation of airborne mold particles when properly fitted, but it does not protect against cleaning-product gases or vapors. Ventilation and the cleaner’s safety instructions still matter.
Avoid directing a portable fan from the affected shower area into the rest of the home. Use an exhaust fan that vents outdoors, an appropriate open window, or other ventilation required by the product instructions without deliberately spreading debris into adjoining rooms.
For a concrete material-specific example, STONETECH Mold & Mildew Stain Remover is a ready-to-use product whose manufacturer lists marble, granite, limestone, travertine, slate, ceramic tile, porcelain tile, glass tile, and grout as suitable substrates. Its directions call for spraying the soiled area, cleaning with a nonabrasive sponge or nylon brush as needed, then rinsing well with clean water.
That example does not make the product appropriate for every shower. Its manufacturer warns against using it on unintended surfaces and against mixing it with other household chemicals or metals. Door hardware, metal trim, coatings, flexible sealant, an acrylic shower base, or another surface exposed to runoff may have separate restrictions.
Never mix cleaning products. Never mix bleach with ammonia or acids, including vinegar. Never mix drain cleaners with other products. Follow label requirements for ventilation, gloves, eye protection, and other precautions.
Do not put a second cleaner over residue from the first. Follow both products’ directions for safe sequential use; if the transition is unclear, do not switch products on that surface. A spot test also does not override an explicit material or manufacturer restriction.
How to Remove Mold from shower surfaces safely
- Confirm that the area is suitable for homeowner cleanup. Make sure the visible problem is small, accessible from stable footing, and limited to material that is still solid and cleanable. Stop if you discover soft materials, loose tile, deteriorated grout or sealant, significant leakage, suspected hidden growth, or an area larger or more complicated than you initially thought.
- Prepare yourself and the work area. Put on the protection appropriate for mold exposure and the chosen cleaner, provide the required ventilation, and remove nearby bottles and movable items. Keep the floor as dry and uncluttered as practical, and do not stand on the shower curb, a chair, or a slippery surface to reach higher areas.
- Protect materials that should not contact the cleaner. Identify tile, grout, natural stone, metal trim, glass coatings, flexible sealant, and the shower base in the path of spray or runoff. Apply the cleaner only where its directions allow rather than broadly spraying the entire enclosure.
- Apply the compatible cleaning method to a manageable section. For a sound hard surface, use the material-approved detergent or cleaner as directed. If using a specialty product, follow its application instructions exactly rather than adding vinegar, peroxide, baking soda, bleach, dish soap, or another ingredient to create a stronger mixture.
- Clean gently and observe the permitted working time. Use a suitable soft cloth, nonabrasive sponge, or permitted nylon brush to remove surface material without aggressive dry brushing. Allow a chemical cleaner only the working time stated on its label, and do not let it remain longer or dry on the surface unless the directions specifically permit that.
- Remove loosened material and cleaner residue. Wipe, rinse, or otherwise remove the cleaner using its specified method, changing to clean cloths or clean water as needed instead of spreading dirty solution across neighboring surfaces. Control runoff and keep cleaning water away from electrical equipment and outlets.
- Dry the area and reassess it. Help the cleaned shower surface dry using normal bathroom ventilation and an appropriate clean towel or squeegee where the material permits. Do not scrape stubborn discoloration, pressure-wash the shower, steam-clean it, remove tile, cut out sealant, open walls, or dismantle fixtures in an attempt to chase a remaining dark mark.
- Correct the moisture condition and monitor the area. Ordinary shower surfaces become wet during use, but they should have a reasonable opportunity to dry afterward. Address obvious leaks, improve normal bathroom ventilation where needed, and watch the cleaned area over subsequent use; repeated growth or persistent dampness is a reason to investigate further rather than repeat chemical treatments indefinitely.
Bleach and Mold Removers Have Limits
Bleach is not required for every small mold-cleaning job. A routine goal is to physically clean removable material from a compatible surface and then get the area dry.
“Killing mold,” cleaning a surface, disinfecting it, and removing a dark stain are not interchangeable claims. Even dead mold material can remain on a surface, and removing a stain does not demonstrate that a moisture source has been corrected.
A product marketed as a mold-and-mildew stain remover may be useful when its label specifically covers the surface involved. Its stain-removal claim should not be stretched into a promise that it resolves hidden contamination, damaged material, or the reason mold developed.
If a product has a separate disinfecting claim, that use depends on its labeled surface preparation, application method, and full contact time. Do not improvise those instructions or assume that a stronger concentration or longer soak improves the result.
Bleach and other aggressive chemicals can also be incompatible with some metals, coatings, stone, sealers, grout formulations, sealants, and shower bases. No cleaner can compensate for an active leak or deteriorated building material.
Reduce the Chance of Mold Returning
Moisture control matters as much as the cleaning itself.
After showering, help compatible surfaces shed standing water with a clean squeegee or cloth where appropriate. Use the bathroom exhaust fan that vents outdoors, or provide suitable ventilation, during and after showering as needed for the room to dry.
Pay attention to patterns rather than following an arbitrary cleaning schedule. A frequently used shower in a humid bathroom may need surface cleaning more often than a lightly used enclosure that dries quickly.
Some recurring spotting can result from ordinary shower humidity and residue. Growth that repeatedly returns to the same place despite reasonable cleaning and drying deserves a closer look.
Persistent dampness, water appearing outside the enclosure, staining beyond the shower, swelling trim or wall material, loose tile, or a musty odor without a visible source can indicate a problem that surface cleaning cannot solve.
Do not caulk over visible suspected mold, coat over damaged material, or apply grout sealer as a substitute for correcting moisture.
Use our bathroom cleaning checklist to organize routine cleaning and maintenance checks alongside the moisture-control steps above.
When to Stop and Get Professional Help
The appropriate professional depends on what you find.
- A shower-door professional may be appropriate when failing door components allow recurring water escape.
- A tile professional can assess loose tile, failing grout, deteriorated joints, or damage within the tiled assembly.
- A plumber is appropriate for active or suspected plumbing leakage beyond a simple visible fixture issue.
- A building or water-damage professional may be needed for soft walls, swollen materials, substantial water damage, or suspected concealed moisture.
- An experienced mold-remediation professional is appropriate for widespread growth, suspected hidden contamination, significant water damage, or a cleanup beyond a small accessible surface area.
Do not open walls, remove shower panels or tile, cut into damaged materials, or dismantle the enclosure to search for mold yourself.
If the glass, tile, or other shower component is unstable or damaged, stop using that part of the enclosure until it has been assessed.
FAQs
can you remove mold from shower surfaces without bleach?
No. Bleach is not a universal requirement for routine mold cleanup, and stronger chemicals are not automatically more effective for the actual problem. The appropriate method depends on the surface, the amount of visible growth, and the cleaner’s approved uses. Whatever method you use, removable material needs to be cleaned away and the moisture condition addressed.
Why does mold keep returning in my shower?
The shower may be staying damp long enough for growth to recur, or residue may be accumulating on wet surfaces. Improve normal drying and ventilation and address obvious leaks. If growth returns rapidly in the same location, materials remain persistently damp, or there are signs of water damage, stop treating it as a cleaning-only problem.
What if dark marks remain in grout or silicone?
Dark discoloration can remain after surface cleaning because grout can stain and sealant can develop embedded discoloration. Do not assume the remaining color proves active mold, and do not keep escalating chemicals or abrasion solely to make the material look new. Crumbling grout or cracked, loose, or deteriorated sealant requires a repair decision rather than stronger cleaning.
Final Thoughts
Learning how to remove mold from shower surfaces starts with recognizing what you can safely clean. Keep cleanup limited to small, accessible areas on sound materials. Use compatible products, appropriate protection, careful residue removal, and thorough drying.
If growth spreads or returns, materials are deteriorating, or moisture appears to be coming from somewhere other than normal shower use, stop repeating surface treatments. The next step is finding and correcting the underlying problem.