
how to clean shower tile without damaging the grout
If you want to know how to clean shower tile without damaging the surrounding grout, start by identifying both materials. Choose a cleaner compatible with the tile, grout, and any sealer, use an approved soft tool, work in manageable sections, and remove cleaner residue within the permitted working time.
The tile face may look extremely durable, but it is not the only surface that matters. Cleaner can contact grout joints, caulk, stone accents, metal trim, and the shower base as it runs downward.
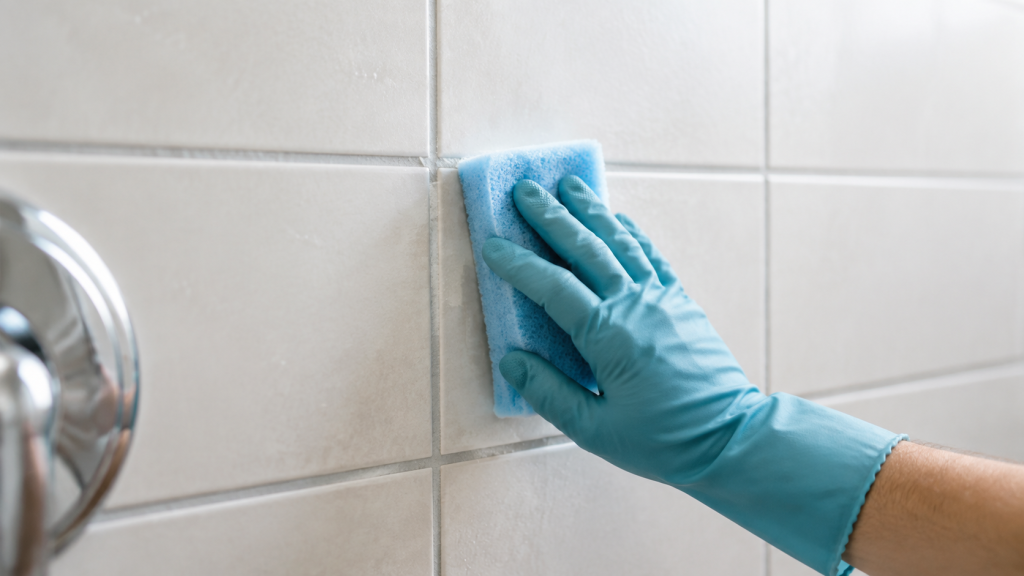
Cleaning safety: Never mix cleaning products. Never mix bleach with ammonia or acids, including vinegar, and never mix drain cleaners with other products. Follow cleaner-label requirements for ventilation and protective equipment. Do not use toilet-bowl cleaner as a general shower-tile or grout cleaner.
Identify the Tile, Grout, and Any Sealer
Ceramic and porcelain tile can tolerate many routine cleaners when the product is approved for the installation, but that does not mean every cleaner safe for the tile face is also suitable for the grout.
Start by determining what you have.
- Glazed ceramic and porcelain tile: These manufactured tiles usually have a durable surface, but polished, textured, decorative, or specialty finishes may have additional care restrictions.
- Natural stone: Marble, limestone, travertine, granite, and other stone require material-specific care. Marble, limestone, and travertine are particularly sensitive to acids.
- Specialty or decorative tile: Metallic finishes, glass accents, printed surfaces, and other unusual materials may need their own care instructions.
- Cement-based grout: Cleaner and sealer compatibility depend on the particular grout and products used.
- Epoxy or other specialty grout: These products can have different absorption, cleaning, and sealing requirements from cement-based grout.
You may not be able to identify the grout type or determine whether it has a penetrating sealer simply by looking at it. Check installation paperwork, leftover grout or sealer containers, builder records, or information from the installer or manufacturer when available.
Do not assume all grout requires sealing. Some epoxy and other specialty grouts may not accept or require penetrating sealers. Likewise, sealing grout or stone does not make it immune to chemical damage.
If the installation is unknown, avoid aggressive chemicals and abrasive tools until you can establish what the surfaces tolerate.
Choose Supplies That Work With the Entire Installation
For routine tile cleaning, keep the supplies simple:
- A cleaner approved for the tile, grout, and any applied sealer.
- Soft cloths or manufacturer-approved nonabrasive sponges.
- A soft-bristle tool only when the relevant care instructions permit one.
- Clean water and a safe rinsing method.
- Gloves, eye protection, or other protective equipment required by the cleaner label.
- A soft drying cloth or compatible squeegee if appropriate.
| Material | Safer routine approach | Main caution |
|---|---|---|
| Ceramic or porcelain tile with grout | Use a cleaner approved for the complete tile installation | Tile compatibility alone does not establish grout or sealer compatibility |
| Natural stone tile | Use a neutral or stone-approved cleaner | Acids can etch marble, limestone, travertine, and other acid-sensitive stone |
| Sealed grout or stone | Follow both cleaner and sealer care restrictions | A sealer can itself be damaged or degraded by incompatible chemicals |
| Unknown or specialty finish | Verify the care instructions before stronger cleaning | Do not experiment with acids, abrasives, or harsh chemicals |
Words such as natural, tile cleaner, and non-scratch do not guarantee compatibility with your particular shower.
A mild detergent may be suitable for some installations, but use one only when the tile, grout, and sealer guidance permits it, and rinse as directed.
A hidden-area test can reveal some visible problems, but it does not override a manufacturer’s restriction.
How to Clean Shower Tile Step by Step
The general working direction is from higher accessible tile downward, but cleaner-specific application and rinsing instructions always take priority.
- Ventilate, read the directions, and clear the area.
Use appropriate bathroom ventilation and read the cleaner label along with the care instructions for the tile, grout, and sealer. Remove bottles, soap, removable caddies, and other loose items from the work area. Keep stable footing. Do not stand on the shower curb, a chair, or a slippery shower floor to reach high tile. Use a compatible long-handled soft tool when it provides safe reach, or leave inaccessible areas for someone who can reach them safely. - Remove loose debris gently.
Pick up hair and other loose material before wet cleaning. Wipe away surface dust or debris with a suitable soft tool so it does not become gritty under a sponge. Do not dismantle drains, fixtures, tile, or plumbing as part of routine cleaning. - Prepare the surface only as directed.
Some cleaners call for a wet surface while others have different preparation instructions. Do not automatically soak the wall before applying a product. Also consider runoff. A cleaner used on tile may reach a stone accent, metal fixture, caulk joint, shower pan, or other finish below. - Apply cleaner to a manageable section.
Work on an area small enough that you can complete the product’s required wiping or rinsing before its permitted working time expires. Do not coat the entire shower and leave the upper sections sitting while you work elsewhere unless the product instructions specifically call for that method. - Allow only the permitted working time.
Follow the cleaner label instead of using a universal dwell time. Some products need time to loosen soil, while some surfaces require relatively prompt removal. Do not allow cleaner to dry on the tile or grout unless the instructions explicitly permit it. - Wipe the tile faces gently and treat grout joints carefully.
Use a soft cloth, nonabrasive sponge, or approved soft-bristle tool. Apply enough pressure to lift ordinary surface soil without trying to grind away discoloration. On textured tile, an approved soft-bristle tool can help reach shallow surface texture. That does not make stiff or abrasive scrubbing appropriate. Avoid repeatedly attacking the grout while trying to clean the tile face. Persistent grout discoloration needs separate assessment. - Rinse or remove residue promptly.
Complete each section according to the cleaner directions. Use clean water when rinsing is required and remove residue that has flowed onto the shower base or adjoining surfaces. Cleaner left behind can produce film, streaking, or a slippery surface. If the product calls for wiping rather than rinsing, follow that instruction instead. - Dry appropriately and inspect the result.
Use a compatible soft cloth or squeegee when appropriate. Look at the surface after cleaner residue and excess water are gone.If ordinary soil has been removed but a cloudy, rough, or discolored area remains, identify the cause before repeating the process with a stronger product.
Do not switch cleaners over existing residue
Never apply a different cleaner directly over residue from the first product.
If sequential products are necessary, follow both manufacturers’ instructions for removing the first product and preparing the surface for the next one. If safe sequential use is unclear, do not switch cleaners on that surface.
Routine tile cleaning also does not automatically require disinfection. When disinfection is appropriate, first verify surface compatibility, clean the surface as directed, and follow the disinfectant label for preparation and the full labeled wet contact time.
Protect the Grout While Cleaning the Tile
Grout joints are part of the tiled installation, so cleaning the tile harder is not a good response to grout that remains discolored.
To reduce the chance of damage:
- Avoid acidic products unless they are specifically compatible with the tile, grout, sealer, and surrounding materials.
- Do not use metal brushes, aggressive scouring pads, or excessive scrubbing force.
- Follow any cleaner restrictions supplied by the grout and sealer manufacturers.
- Do not assume a sealed grout joint can tolerate chemicals prohibited on unsealed grout.
- Stop repeatedly scrubbing grout that is crumbling, missing, cracking, or otherwise deteriorating.
Do not use a pressure washer as a general indoor shower-tile cleaning method. Steam cleaning also should not be assumed safe; use it only when the manufacturers of the tile, grout, sealer, and other affected materials explicitly allow it.
Deep grout cleaning, color restoration, resealing, regrouting, and grout replacement are separate tasks.
For buildup concentrated in the grout lines, see our guide on how to clean shower grout without damaging it.
If the Tile Still Looks Cloudy, Stained, or Dirty
A mark that remains after routine cleaning is not necessarily ordinary dirt.
Possible causes include:
- Cleaner or soap residue.
- Remaining surface soil.
- Established soap scum.
- Mineral deposits from water.
- Discolored grout next to otherwise clean tile.
- Etching, scratches, worn finishes, or other material damage.
If the tile looks cloudy immediately after cleaning, first make sure cleaner residue was removed according to its instructions. Repeated applications can make the problem worse if residue is the cause.
For persistent soap scum or mineral deposits, identify the tile, grout, stone accents, and other surfaces before choosing a targeted treatment.
Do not default to vinegar, bleach, baking-soda paste, peroxide, abrasive powder, or solvents. A treatment that is acceptable for one installation may damage another.
Etching and physical wear also cannot be scrubbed away. If the appearance changes because the surface itself is damaged, increasing chemical strength or scrubbing pressure will not restore it.
If the cloudy layer is soap scum, our guide on how to remove soap scum explains how to choose a treatment compatible with the shower surface.
Routine Care and When to Stop
For a regularly used tiled shower, routine cleaning about weekly is a reasonable starting point. Adjust the schedule for the number of users, actual residue, moisture conditions, and the manufacturer’s care instructions.
Between cleanings, you can:
- Remove obvious residue when appropriate.
- Squeegee compatible surfaces if useful.
- Allow the shower and accessories to dry.
- Use bathroom ventilation during and after bathing as appropriate.
Stop treating the condition as a cleaning problem if you find:
- Grout that is crumbling, missing, or progressively deteriorating.
- Loose or cracked tile.
- Soft or deteriorating material around the tiled area.
- Persistent dampness or water appearing outside the enclosure.
- Recurring, widespread, or suspected hidden mold.
Grout and caulk are not substitutes for a functioning waterproofing system. Cleaning cannot correct a concealed leak, failed waterproofing, damaged substrate, or significant moisture problem.
Shower Tile Cleaning FAQs
Can you use vinegar on shower tile?
It depends on the complete installation. Vinegar is acidic and can etch marble, limestone, travertine, and other acid-sensitive stone. Routine acid exposure can also be inappropriate for certain grout, sealers, and specialty finishes.
Do not use vinegar simply because the visible tile appears to be ceramic or porcelain. Confirm compatibility with everything the liquid will contact.
Can the same cleaner be used on tile and grout?
Yes, if the cleaner is specifically compatible with both the tile and the particular grout and sealer in the installation.
A label that says only “tile cleaner” is not enough to establish that compatibility. Check the manufacturer’s permitted surfaces and restrictions.
Why does shower tile look cloudy after cleaning?
Cleaner or soap residue can leave a film, so confirm that the surface was rinsed or wiped according to the cleaner directions.
If the cloudiness remains, the cause may instead be mineral buildup, established soap scum, etching, scratching, or another surface change. Identify the cause before applying a stronger treatment.
Final Thoughts
Clean shower tile as part of a complete installation, not as an isolated hard surface. Use products compatible with the tile, grout, sealer, and nearby finishes, work gently, and remove residue within the permitted time.
If normal cleaning stops improving the surface, determine whether you are seeing a specific deposit or material damage before scrubbing harder.